Of all the miniature figurine materials I have worked on so far, metal is by far my least favourite. My dislike for the material stems mainly from the imprecision of connecting metal parts. There is a certain leeway to be had when gluing two metal parts together that the vehicular-scale-modeler in me abhors. Personally I prefer two parts to come together in only one way sans any margin of flex. But I can see how someone who likes to customize their miniatures may delight in this pseudo-flexibility. Perhaps this will be made clearer when you read about my experience with metal Loki below.
 |
Knight Models Marvel Universe - Loki [work-in-progress: assembled]
|
For this particular Knight Models metal figurine, the somewhat imprecise way two connecting parts came together required me to make use of additional materials/tools during the assembly process. These extra materials/tools include a 'baking soda-cyanoacrylate' mixture, a hobby drill, and modelling putty. All were needed to resolve issues resulting from my experience with this figurine.
 |
Individual metal and resin parts of the Loki figurine model kit
|
 |
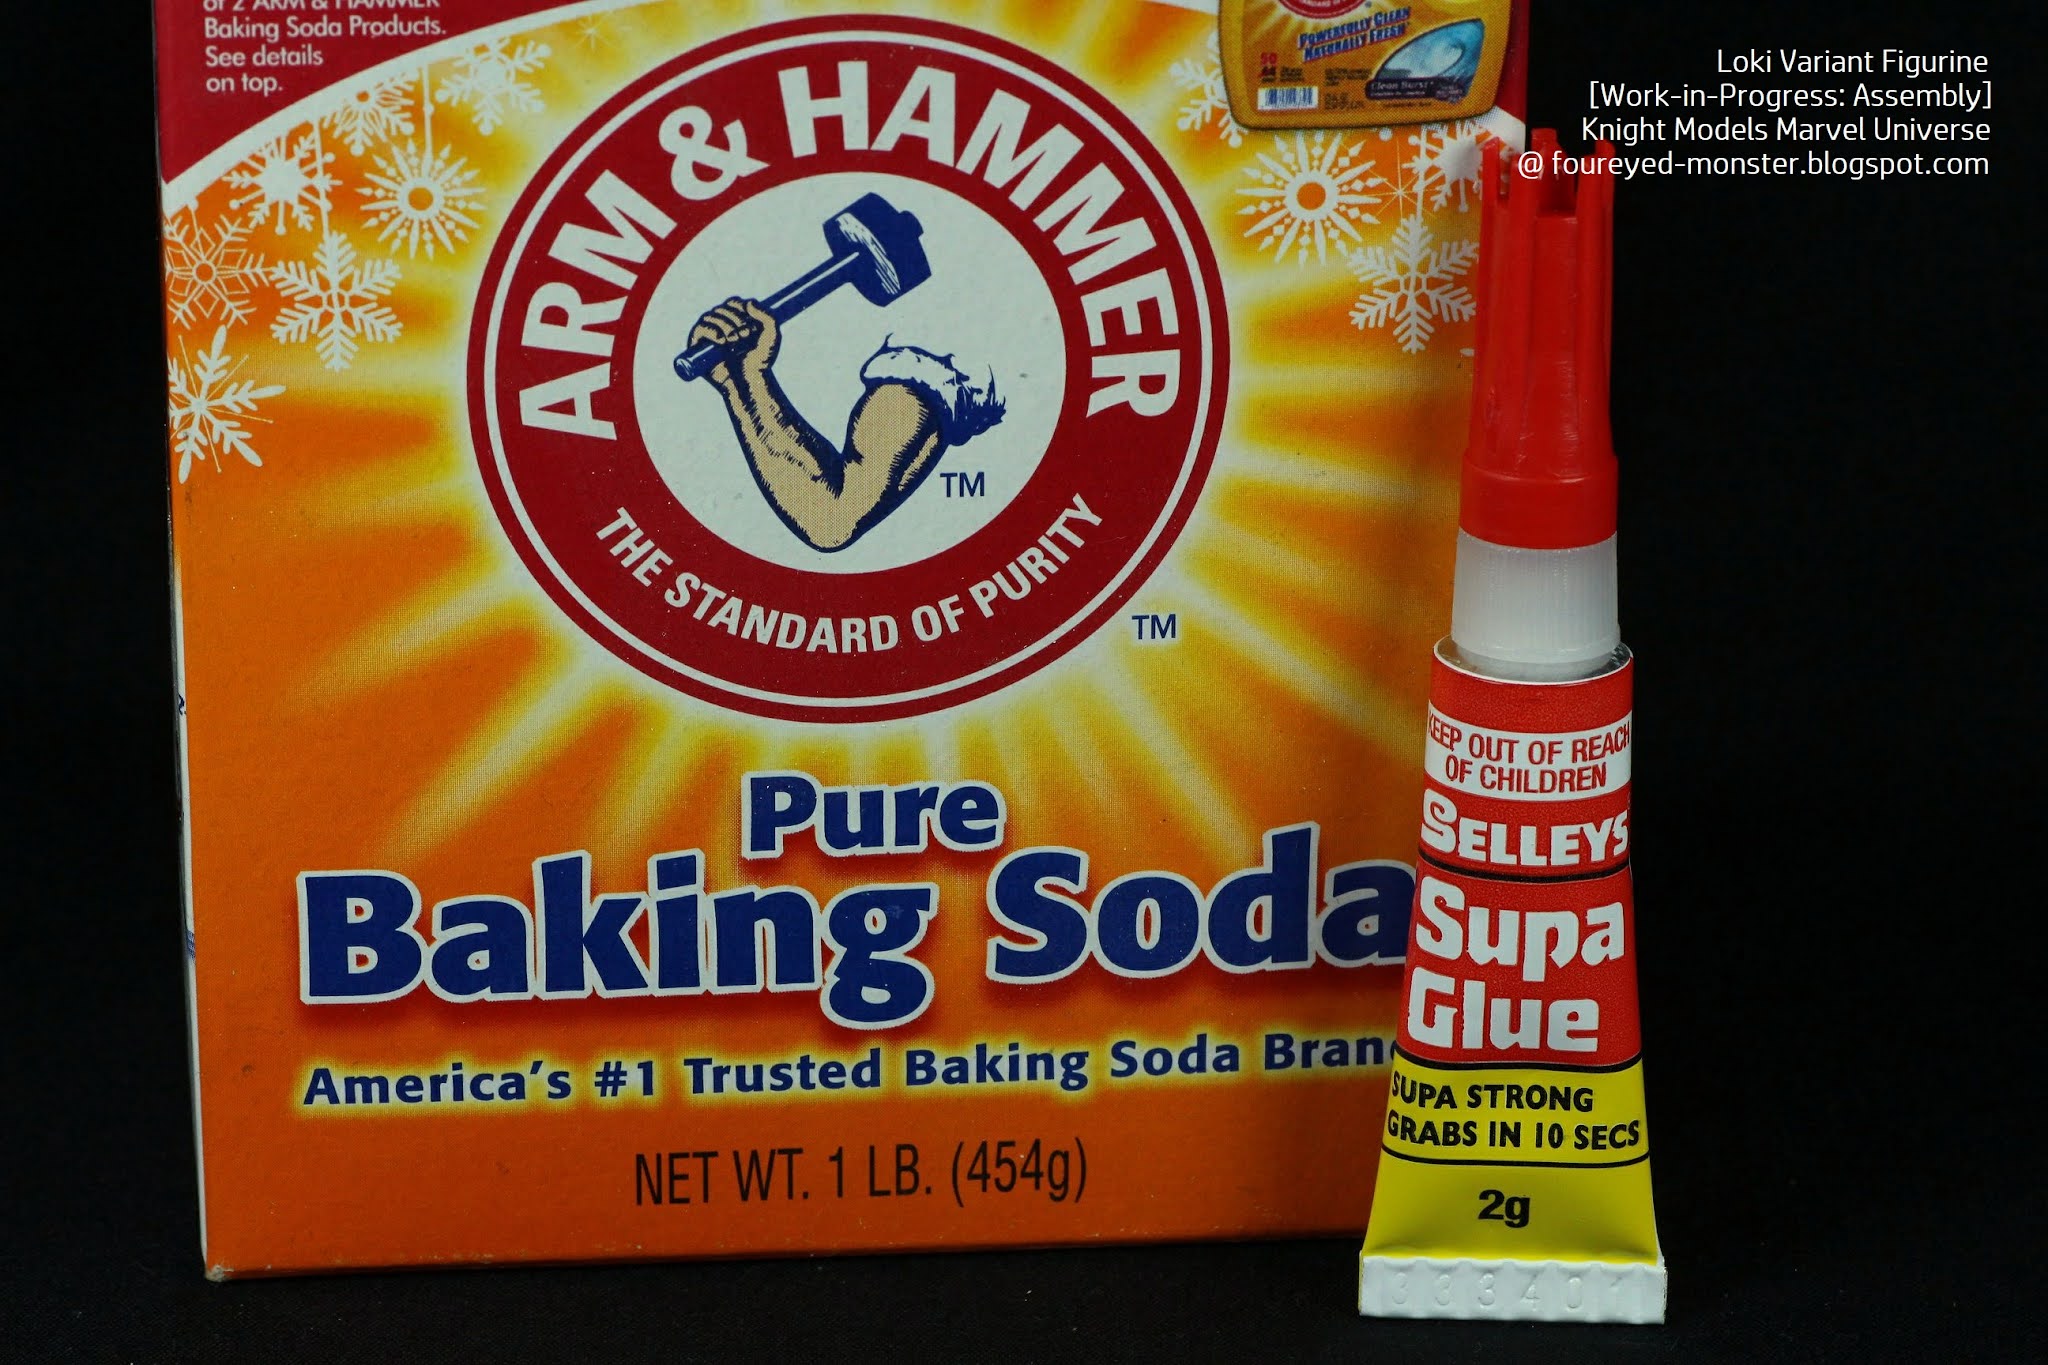
Baking soda plus super glue equals an extremely strong bond and heat!
|
 |
Modelling Putty, specifically the Games Workshop Green Stuff
|
In certain instances, there was a need for me to drill deeper holes into existing shallow ones, especially those found on Loki's helmet and staff pole. Doing so allowed the separate parts to not only fit better, but also gain better purchase with each other. Fortunately, the white metal was soft enough to yield to my mini hobby drill. End result were a better fit for Loki's horns and ponytail to his head as well as the staff's pole to its tri-bladed tip/head (see below).
 |
Loki's horns attaches to his helmet; the drill deepens the holes on his helmet for added purchase
|
 |
To deepen the hole where the ponytail connects to the head (via the helmet) as well as ...
|
 |
... the hole where the staff head/tip connects to the pole, the same mini-drill was used
|
Because metal parts are relatively heavier than their resin or plastic equivalents, I wanted to create a bonding that was stronger than your average super glue. As such, I decided to use a 'baking soda-cyanoacrylate (super glue)' mixture when gluing metal parts together. Long story short, the bond strength resulting from this mixture is much stronger than just using super glue alone. WARNING: this mixture results in an exothermic reaction i.e. it releases heat which may damage your skin! So please be careful. This mixture was also used on a sprue propping up the base because I felt it needed the extra strength in order to support the base plus figurine.
 |
A plastic sprue from a different model kit was used to prop up and stabilize the base ...
|
 |
... with a 'super glue-baking soda' combo used to ensure a strong bond between plastic and resin
|
Another issue arising from the imprecision was unsightly gaps that frequently formed between
parts being joined together. To resolve this, I used modelling putty to
fill in the gaps. Additionally, I had to sculpt the putty so that its texture resembled the parts around it. For example, the putty used to fill in the gaps between the lower and upper arm was sculpted to look like the 'glove-like wrappings' on the lower arm. Other than filling gaps, the modelling putty was also required to prevent Loki's left foot from resting on thin air. To this end, I sculpted an extension to Loki's stony throne so that his foot now rested on what I hope looks like just another natural outcrop.
 |
Gaps arising from an imprecise connection on upper/lower arms were filled up with modelling putty
|
 |
Patterns resembling the bandage on the forearm was sculpted on the modelling putty ...
|
 |
... in order to enable the modelling putty to blend in with the rest of the figurine's details
|
 |
An extension to the stone base was also sculpted ...
|
 |
... to prevent Loki's left foot from appearing to rest on thin air
|
Despite the difficulties inherent in the Loki Variant's assembly process, I was delighted with the final results. While I don't have much experience working with putty aside from filling small gaps, the simple textures involved meant I could still pull off the required sculpting work without major ramifications. However, the real visual test will come after the priming process. Only after that will I know for sure if the sculpted texture blends in well with the rest of the figurine and its base.
 |
A larger image of Loki after assembly and some prep work
|
So assembly of the Loki Variant is now done. As mentioned in the preceding paragraph, the priming process is next for this miniature figurine. That will be something to look forward to. Anything to take my mind off this awful pandemic the country is mired in. As always, stay safe and be well.


.jpg)

Great looking miniature. Waiting for your painting effects!
ReplyDeleteIt is a nice looking miniature, thanks for following my progress on Loki.
DeleteGreat work Kuan ! Looking forward to see him painted !
ReplyDeleteGreetings and stay safe !
Thanks Mario ... I hope to paint Loki soon too.
DeleteOh, that's quite an impressive model. Your prepration work will make things quite easier (and quicker!) later, so it's time well spent. I'll love to follow this project!
ReplyDeleteThank you Suber, so very much for taking the time to follow my progress on Loki.
Delete