Showing posts with label Khorne Berzerkers. Show all posts

Sunday, 9 September 2012

Lelith Hesperax (Alternate Version)

Painting Lelith as a practise run - before I attempt the various Kingdom Death miniatures that I have - has thought me several valuable lessons which I will need to take heed of, or I will end up with the less than satisfactory results (an understatement I know) as shown below.

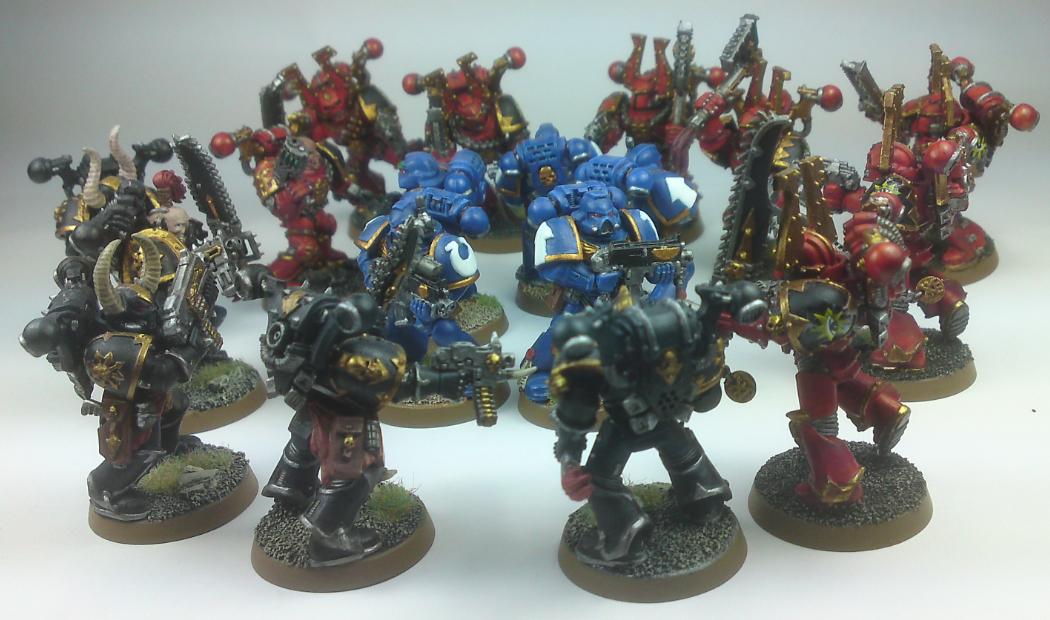
Lelith Hesperax, Alternate Version (Front View)
Lelith Hesperax, Alternate Version (Back View)

I made a number of mistakes which were compounded by further rookie FUBARs along the way.

Firstly, I am still very inexperienced working with Citadel Finecast. This being, by far, the smallest model I have worked with, caused me to be too careful when trying to clean the mould lines, rough surfaces, etc. As I will later know to my dismay, this set up a very weak foundation for the primer. 

Secondly, I decided to prime the model white. Based on my experience so far, white primer doesn't seem to apply as well as a black primer. While choosing white itself was not the issue, applying white primer on a miniature that had not been prepped properly was a recipe for disaster. As shown below, the white primer did not really take properly (not sure if the fact that I had a very old can of paint contributed to the problems) and presented a very rough surface for painting on.


Thirdly, with the primed surface already so rough and uneven, I made it even worse by deciding to cut out some pieces from Lelith's torso armour to make it less Dark Eldarish (noob faceplam). Also, priming white is more for expert painters so as you can see from the final results - there were still some white spots showing after I had finished.

Fourth and final nail in the coffin, I painted this model all through to the wee hours of the morning from about 10 pm to 6 am. Luck would have it, I painted the face at around 4am in the morning when I was dead tired and zombified. I messed up the face really bad and kinda scrapped off the paint and repainted it (I did this twice) before putting up my hands and admitting I had screwed up. So I just touched up stuff the best I could. 

One lesson I have learnt is that patience is paramount when painting miniatures ... when you are losing patience step away from your minis and come back to them later.

Dancing appointment gone wrong ... "Meet more people mom says ... when are you going to find a new husband she nags ... sheesh," grumbles Lilith while out on her date.
Having blonde hair was attracting all the wrong people ... soon Lelith was to dye her hair red.
So long story short ... I messed up. All part of the learning process I suppose.

Saturday, 9 June 2012

How to Paint Khorne Berzerkers

It has been quite a while since I finished painting my Khorne Berzerkers but I thought it would still be worthwhile to share my experience in painting these miniatures for any fellow noob starting out. Colour scheme is still based on Games Workshop's old paints but a simple conversion chart should help for those of you using the new paints. Photos are a bit unclear as these were some of the first pictures I took when starting out in the hobby and I was still getting to grips with the phone camera.

1
Undercoat using Chaos Black.

2
 Basecoat Armour with Scab Red. Apply a few watered down layers for a smooth coating. 

3
Basecoat non-gold metal parts with a layer of Boltgun Metal and then wash with Badab Black.

4
Basecoat gold parts with a 1:1 mix of Scorched Brown and Dwarf Bronze. Miscellanous parts were basecoated - eyes were painted with Dark Angel Green; chainsword tassel with Mechrite Red; leather straps with Scorched Brown; and.teeth on the helmet were painted Boltgun Metal.

5
Midtones: Gold areas were painted with 1:1:1 mixture of Burnished Gold:Dwarf Bronze:Tin Bitz and later given a wash of Gryphonne Sepia.

6

Midtones: Armour has layer of Red Gore, leather pieces have Bestial Brown added, zerker eyes have Snot Green. A watered down layer of Red Gore was applied by 'draging' the paint pigments towards the area where I wanted the armour to look brighter (see picture below).


7
Assemble the miniature after completing the mid-tone layers.

8
Highlights: Armour was painted with Blood Red using the same technique in step 6.

9
Extreme highlights: Top most parts of the gold layers were painted with Burnished Gold while top most parts of metal layers were painted with Chainmail. Tassel was given a wash of Thraka Green.

10
Glue sand and stones to the base using PVA glue
Undercoat with Chaos Black
Dry brush with Codex Grey
Dry brush with Bleached Bone
Paint side rims with Graveyard Earth
Glue some grass using PVA glue
Basing: Base was painted to look like a land in the process of being corrupted into chaos wastelands.

11
Black Legion Khorne Berzerker completed with decals. My first try at painting a Khorne Berzerker.


Colour conversion chart
Below is a portion of Games Workshop's colour conversion chart which comprises the colours I used to paint the Khorne Berzerkers.

Saturday, 17 March 2012

How to paint a Chaos Rhino Interior

My version of a Warhammer 40K Chaos Rhino interior was painted based upon the assumption no conversions were carried out on the transport model i.e. the side and top hatch doors remain glued shut. Once the model is completed, the interior's only light source would come from the back door ramp which can be opened. This means the interior would be darkly lit so the paint scheme generally gravitated towards more brighter colours to compensate AND not much attention was paid to details save for what could be seen from the angle of the back door.

1  
Undercoat: Chaos Rhino interior was given an undercoat of Skull White. With such a bright undercoat, any subsequent paint layers with translucent properties would look brighter.

2
Basecoat: Ceiling, top/side hatch doors, back door ramp, left/right side of the Rhino interior were given a basecoat of Bleached Bone, which was applied in two watered-down layers.Other parts of the interior given a basecoat include bolter and metal pipe (Boltgun Metal); computer screens (Chaos Black); computer buttons (Codex Grey); base for warp-spawn (Charadon Granite); warp-spawn's face and seats (Scab Red); and the interior's floor (Khemri Brown).

3
Wash: Ceiling, top/side hatch doors, left/right side of the Rhino interior were given a wash of Gryphonne Sepia along the edges and shadows; bolter and metal pipe (Badab Black); back door ramp and floor (mixture of Devlan Mud and Badab Black).
Some Chaos symbols were also drawn free-hand on the left and right walls of the interior and given a wash of Gryphonne Sepia.

4
After basecoats and a wash
Midtones, highlights and some free-hand drawings added
Midtones and Highlights: Of all the parts on the interior, most attention was paid to the instrument panel as it would be the main focus of someone looking into the Rhino interior. 

Computer screens were given a watered-down layer of Orkhide Shade to stimulate a fluorescence effect. Free-hand drawings of computer readouts such as radar, sinus wave etc were applied using Scorpion Green. After that, a wash of Thraka Green was applied to the screens. The warp-spawn's face was given a midtone layer of Red Gore and two highlights i.e. a 1:1 Red Gore:Blood Red highlight followed by a pure Blood Red highlight. Buttons at the instrument panel were given an extra wash of Gryphonne Sepia while the bolter was highlighted with Chainmail.

5
Assembly: All the separate parts were then glued together.
Chaos Rhino Interior - Front view with the top off
Chaos Rhino Interior - Left side view with the top off
Chaos Rhino Interior - Right side view with the top off
Chaos Rhino Interior - Front view with the top on
Chaos Rhino Interior - Left side view with the top on
Chaos Rhino Interior - Right side view with the top off
As this is my first try at assembling and painting a Warhammer 40K vehicle, I am pretty happy with the progress I have made. Slow and steady is the mantra I am adopting.

Khorne's price
While painting my Khorne Berzerkers I had a few broken brushes. Khorne's demand for his pound of flesh was no less in this case ... literally! My fingers were stuck to the miniature model with Super Glue for at least three times ... ouch, ouch and ouch. This being my first time assembling a Rhino, I kinda panicked at the gluing stage. Oh well ... the price has been paid. =)

Thursday, 9 February 2012

Khorne Berzerkers are ready for war!

After what seems like forever, the Khorne Berzerkers are finally finished. Highlights comprised Blood Red for the armour, Chainmail for the metal parts and Burnished Gold for the gold parts. Weapon tassels were washed with Thraka Green (on top of a Mechrite Red basecoat) and highlighted with a mixture of 1:3 Scab Red:Fortress Grey. Basing was inspired by GameWorkshop's Warptainted Lands colour scheme while a Black Legion decal was applied to the zerkers' left shoulder.


Can the zerkers be improved upon? Most undoubtedly. But for now, I guess I will leave them as they are. A wash of Devlan Mud was in the works but I decided against it at the end. A detailed 'How to paint Khorne Berzerkers' as well as colours used for the base will be posted in an upcoming blog. 

View from all angles
A detailed look
 With these new additions, the Black Legion army was soon looking for trouble. 

Courage and honour?


Ugg and Ogg in trouble?

Well, based on that last picture above, it seems like the lovable Ugg and Ogg  are in serious trouble. They need help. So I will need to start my Citadel Finecast project soon and get Ghazghkull Thraka into the fray. I plan to use 'Heavy Metal's Masterclass guide to help paint this massive Ork Warboss. 


It has been a crazy week hobby wise ... but I am loving every minute of it.
Related Posts Plugin for WordPress, Blogger...