Showing posts with label Reviews. Show all posts

Friday, 6 November 2020

Girl's Rider - Hasegawa 1/12 scale Real Figure Collection No.1 [Unboxing and Dry Fit Review]

 Eager anticipation has always predominated any return I make to projects involving female figurines whatever the scale. So much so that it transcends the severe trepidation I invariably have whenever I take on the challenge of painting realistic skin tone and facial features of said figurines. My ultimate goal is to one day render a paint job so true that it'll be like real life in miniature form. Now this may be a lofty, unattainable goal. But it is one that suggests a long journey ahead, a theme I feel is consistent with this creative hobby. This particular journey will begin with an unboxing and dry fit review of Girl's Rider, a 1/12 scale resin figurine from the Hasegawa Real Figure Collection.          


Hasegawa 1/12 scale Real Figure Collection No.1 - Girl's Rider [Unboxing and Dry Fit Review]

Front and back box art of the 1/12 scale Girl's Rider resin figurine

Side box art of the Girl's Rider resin figurine

 In contrast to scale model kits, the assembly instructions for figurines are generally simple and straightforward. It was no different for the guide included with the Girl's Rider resin figurine kit. The only complication I can foresee is whether the figurine's hair fringes/bangs should be painted first before being glued onto her head or vice versa. Based on preliminary observations, I believe the process to get the fringes/bangs to align properly with the rest of her hair might be a tricky one. Gaps in her head of hair may potentially show up. As such it may become necessary to carry out gap-filling-with-putty work before painting can begin. If this is also true for other parts of the figurine, then the workflow process will likely be assemble all parts, glue, prime, mask appropriately, and paint.   


Hasegawa's instruction booklet for the 1/12 scale Girl's Rider resin figurine

Assembly of the Girl's Rider figurine is fairly straightforward except for the bangs/fringes of her hair

 Upon opening the box, my impressions are that the internal packaging is consistent with Hasegawa's marketing pitch that this figurine is a limited edition premium figurine. First thing that catches the eye is a pinkish red bubble wrap with heart-shaped motifs. This serves to protect the resin parts of the figurine. Comprising two large (head connected to upper torso and one half of the lower torso; other half of the lower torso) and four relatively smaller parts (both arms/hands as well as two hair fringes/bangs), these parts are themselves placed in two separate plastic bags (see below).  


A pinkish red bubble wrap with heart-shaped motifs serves to protect the resin parts

Resin parts themselves are placed inside two small plastic bags

 One undesirable thing of note is that individual resin parts of the figurine will require a fair deal of prep work to ensure the individual parts fit together seamlessly in the future. Because this was a quick dry fit review, the parts you see in the photos below weren't optimally prepped. There is still a ways to go before the parts are fully cleared of mold lines, extraneous resin pieces, etc. As it stands, I'm still not entirely sure if the figurine will exhibit gaps once assembled. Preliminary observations tell me that some minor putty work might be needed though I hope I'm wrong on this. 


Girl's Rider figurine comprises six separate parts - two big with four relatively smaller

 During the dry fit exercise, unsightly seams can be clearly seen from the photos below; reasons of which are partly attributable to factors mentioned in the preceding paragraph. In addition to that, the use of adhesive tacks actually prevents the parts from achieving a seamless fit. Regardless of how thin I try to make the adhesive tacks, they still have a certain volume to them that shouldn't exist when the parts are glued together. For a dry fit, the adhesive tacks serve their purpose adequately enough.


1/12 scale Girl's Rider resin figurine, after being dry-fitted using adhesive tack

Resin figurine's facial features are clear and well molded

For now there is an unsightly seam running down the center of her groin area ...

... but it's more due to the thick adhesive tack used rather than any inherent design flaw

Incredible detail can be seen in the long, individual strands of her hair

In hindsight, adhesive tapes would've probably worked better than adhesive tacks

Front and back view of the dry-fitted Girl's Rider resin figurine

 In addition to the post you see here, I have actually taken a series of videos of the unboxing and dry-fitting process. All of it will be combined into one long video. And once it has been edited, the video will be uploaded to YouTube and the corresponding blog post published. This video should be far more informative and instructive than the post you see here, so it should be worth a look once it's done. Until then I leave you with a quote from my favorite character from Downton Abbey namely Dowager Countess Violet Crawley ... My dear, all life is a series of problems which we must try and solve, first one and then the next and then the next, until at last we die.  


https://shireworks.blogspot.com/https://www.facebook.com/shire.works

http://shireworks.blogspot.com/p/custom-painted.html

Sunday, 9 August 2020

Japanese Figurine Painting Book Review 01: Pygmalion - Obsessive Finish of Girl's Figure, The A to Z of Hiroshi Tagawa's Fascinating Female Images

Hiroshi Tagawa. That's the name of my absolute favorite miniature figurine painter. To me his body of work represents the epitome of realistic figurine painting. If you're an artist seeking to render ultra realistic skin tones and facial features on a three-dimensional miniature figurine, you would be remiss to ignore his painting techniques as well as general work practices. And for the longest time I only had Facebook's badly translated (Japanese to English) posts to rely on, to get even the slightest inkling of what Tagawa-san was doing hobby-wise. But it's finally here, a book by Tagawa-san himself that has English translations! Anyway enough with the fan boy talk. Here then is a quick review of Pygmalion - Obsessive Finish of Girl's Figure, The A to Z of Hiroshi Tagawa's Fascinating Female Images.

Pygmalion: Obsessive Finish of Girl's Figure, The A to Z of Hiroshi Tagawa's Fascinating Female Images (Front Cover)

Pygmalion: Obsessive Finish of Girl's Figure, The A to Z of Hiroshi Tagawa's Fascinating Female Images (Back Cover)


Before I begin this review, I would like to make it clear I have yet to try out the painting techniques on this book. But I'm an experienced enough miniature painter to be familiar with such techniques and also be aware of how they might potentially fit into my existing workflow processes. In short, I'm pretty sure these techniques work, and more importantly they are well suited to my own style of painting. As an added bonus, you'll be able to find a short video at the end of this post showing a quick overview of what's inside the book via its pages being flipped quickly. On the video and photos here, all text on the book is intentionally blurred out to protect the author's intellectual property.   

The 1/6 scale Female Android is one of my favorite pieces painted by Tagawa-san


About a third of the book is dedicated to a how-to-paint/prep tutorial of which the end result you can see in the photo immediately below this paragraph. From a cursory glance at the tutorials, I believe Tagawa-san uses a combination of lacquer, enamel and oil paints to achieve the paint effects you see in his work. In addition, he also shows how to place real-life fake eyelashes on the eyelids of the miniature figurines to exponentially increase the realism of the figurine's facial features. In the book, you can also learn how he paints veins and blemishes which makes skin tones look ultra realistic. 

Tutorials in the book are geared towards painting the ballerina girl above
Each painting tutorial step is written in both Japanese and English
In addition, to the how-to-paint guide, there are also descriptions on the resin figurine prep work


Ballerina girl is the only how-to-paint example given in this book and it takes up about one-third of this 96-page book. That leaves the bulk of the content comprising photos of Tagawa-san's completed works, articles about the artist himself and his work area, etc (see below). While this was a bone of contention among some online reviewers i.e. lack of tutorial examples, it wasn't the case for me. I was happy to take quality over quantity. Having a fairly detailed look at how he brings even just one resin figurine all the way from the prep-stage to the final fully painted stage was a real eye opener.    

A large proportion of the book comprises photos of various completed works by Tagawa-san
Tagawa-san's body of has also been on display in art exhibits
The master himself, Hiroshi Tagawa-san (in an article about him and sculptor Hiroki Hayashi)


In line with my wish to get my YouTube Channel up and running with more content, I decided to do a quick page flip viewing video for the book. Please do note that the somewhat blurry book text on the video was intentional in order to safeguard the author's intellectual property. Also blurred out were sections of the book which contained nudity. Personally I've no issue with nudity in miniature figurines as I consider it to be art. However, I'm aware some may be sensitive to it hence the censorship. 


If I had to score this book out of 10, I would give it an 9 out of 10. Being a huge fan of Tagawa-san, I'm frankly just relieved he decided to finally publish a book that highlights his painting techniques. Of course as consumers we'll always want more. More tutorials, more photos, more articles, more detail. But apart from video tutorials or face-to-face classes with the artist, this is about the best one can hope for. In short, I'm extremely happy with my copy of  Pygmalion - Obsessive Finish of Girl's Figure, The A to Z of Hiroshi Tagawa's Fascinating Female Images. I highly recommend it.


FourEyedMonster Miniatures YouTube Channel

https://shireworks.blogspot.com/https://www.facebook.com/shire.works

Sunday, 2 August 2020

Color Modulation Paints - WW2 German Gray set [Unboxing and a Preliminary Review]

Color Modulation is a painting technique that plays with lights and shadows in order to create sharp contrasts and subsequently depth on a scale model kit. In short, it's a technique that enables scale modelers to add life to an otherwise monotone finish, or at the very least create a visually interesting piece. This technique accentuates the highlights and shadows on a model kit beyond what would naturally occur in the real world. And therein lies the rub. Some find results to be too cartoonish and unrealistic while others think it's the greatest thing since sliced bread. Me, I'm somewhere in between. Here then is a review of the paints I'll use for this technique in my upcoming AFV project.

Mr.Hobby Mr.Color Color Modulation Set (German Gray Version) ... that's certainly a mouthful to say
Box art on the packaging shows colors included as well as a concise description of the technique

For hobbyists working under a tight budget, it's possible to forgo use of paint sets formulated specifically for color modulation. In most cases, such sets have paints of a specific color that vary in tint, shade, and tone. This means as long as you have the primary hue to work with, you can then add white (to vary the tint), add black (to vary the shade) and/or add gray (to vary the tone). But I do find using ready-mix paint sets to be huge time savers that far outweigh the cost incurred.      

Other Mr.Hobby Color Modulation Sets include Dark Yellow (above), Olive Drab (above) and Russian Green (not shown)
On the flip side of the mini-booklet are instructions on how to apply paint using color modulation technique 

Wit the color modulation set being a Mr.Hobby product, I proceeded to use Mr.Color Leveling Thinner to dilute the lacquer paints at a ratio of roughly 1:1. Based on experience, I find that this ratio or even a ratio 1 paint to 1.5 thinner works well when airbrushing Mr.Color lacquer paints. Of course there will always be exceptions depending on a specific hue's pigments. But in general, any range between these two ratios tend to be the sweet spot for me in achieving smooth thin coats.  

Left to right: GG Shadows CMC09 , German Gray C40, GG Highlight 1 CMC07 & GG Highlight 2 CMC08
Color Modulation Paints were mixed with the Mr.Color Leveling Thinner at a ratio of around 1:1
German gray color modulation paints airbrushed onto plastic spoons coated with light gray primer beforehand

Because I had bought some Tamiya TS-4 German Gray Grey spray cans before I got my existing airbrush setup, I decided to see if I could incorporate that spray paint color into the ready-mix color modulation scheme. Sadly a spoon paint test (see below) showed me that it wasn't ideal to use the Tamiya gray together with the Mr.Color grays. If you look really closely, you should be able to notice that the Tamiya gray is completely neutral while the Mr.Color grays have a beige-like tint to them. So for now, it looks like I'll only be using the color modulation paint set sans the Tamiya gray.

Tamiya TS-4 German Grey spray can paint was also included in the color modulation test
Compared to Mr.Hobby paints that have a beige-like tint to its gray hues, the Tamiya TS-4 has a neutral tone
TS-4 ranks 2nd in brightness; but not by much as shown when it's placed in the middle of the spectrum 

Moreover the gray hues of Mr.Color are closer those found on the molded-in color (pre-colored) plastic parts (see below). Both have this light beige-like quality to them with transcends the monotone neutral grays like those found on the Tamiya spray can. To be fair this doesn't mean there is no place for neutral grays on an AFV color scheme. On the contrary, such neutral hues may be better suited when you're planning to use a filter later in order to alter the overall color scheme. On that note, I'll need to see if I would need to apply a filter on my chosen paint set to get the final hue I want.   

Mr.Color CMC07 and Tamiya TS-4 compared to the German Gray hue on the Sturmgeschütz III kit's plastic parts
Due to the Tamiya TS-4's slightly different tone, it won't be used in conjunction with the Mr.Hobby paint set

Having absolutely zero experience with color modulation techniques for sure makes the soon-to-begin Sturmgeschütz III project a fairly daunting one. Part of me wants to do bugger all and just maintain previous practices of using a monotone hue before subsequently varying it through the use of weathering effects. But as tempting as this option may be, I would be derelict in my duty to improve as a painter and modeler if I didn't give this technique a go. So that's what I'll do in the coming months. With the week is almost over, dear readers, I hope you have a great weekend.   

https://www.facebook.com/FourEyedMonster-313145002078520/

Sunday, 21 June 2020

Tamiya 1/35 scale Sturmgeschütz III Ausf.B Sd.Kfz.142 [Unboxing & Pre-Assembly Review]

Designed as a support vehicle for attacking infantry, the Sturmgeschütz had seen its fair share of battle during World War 2 (WW2). It ran the gamut from being the spearhead of infantry in epic battles on the Eastern Front to being cannon fodder in its final deployments during the desperate last days of the Third Reich. I plan to recreate a 1/35 scale painted version of this Armored Fighting Vehicle (AFV), I'll be using the 
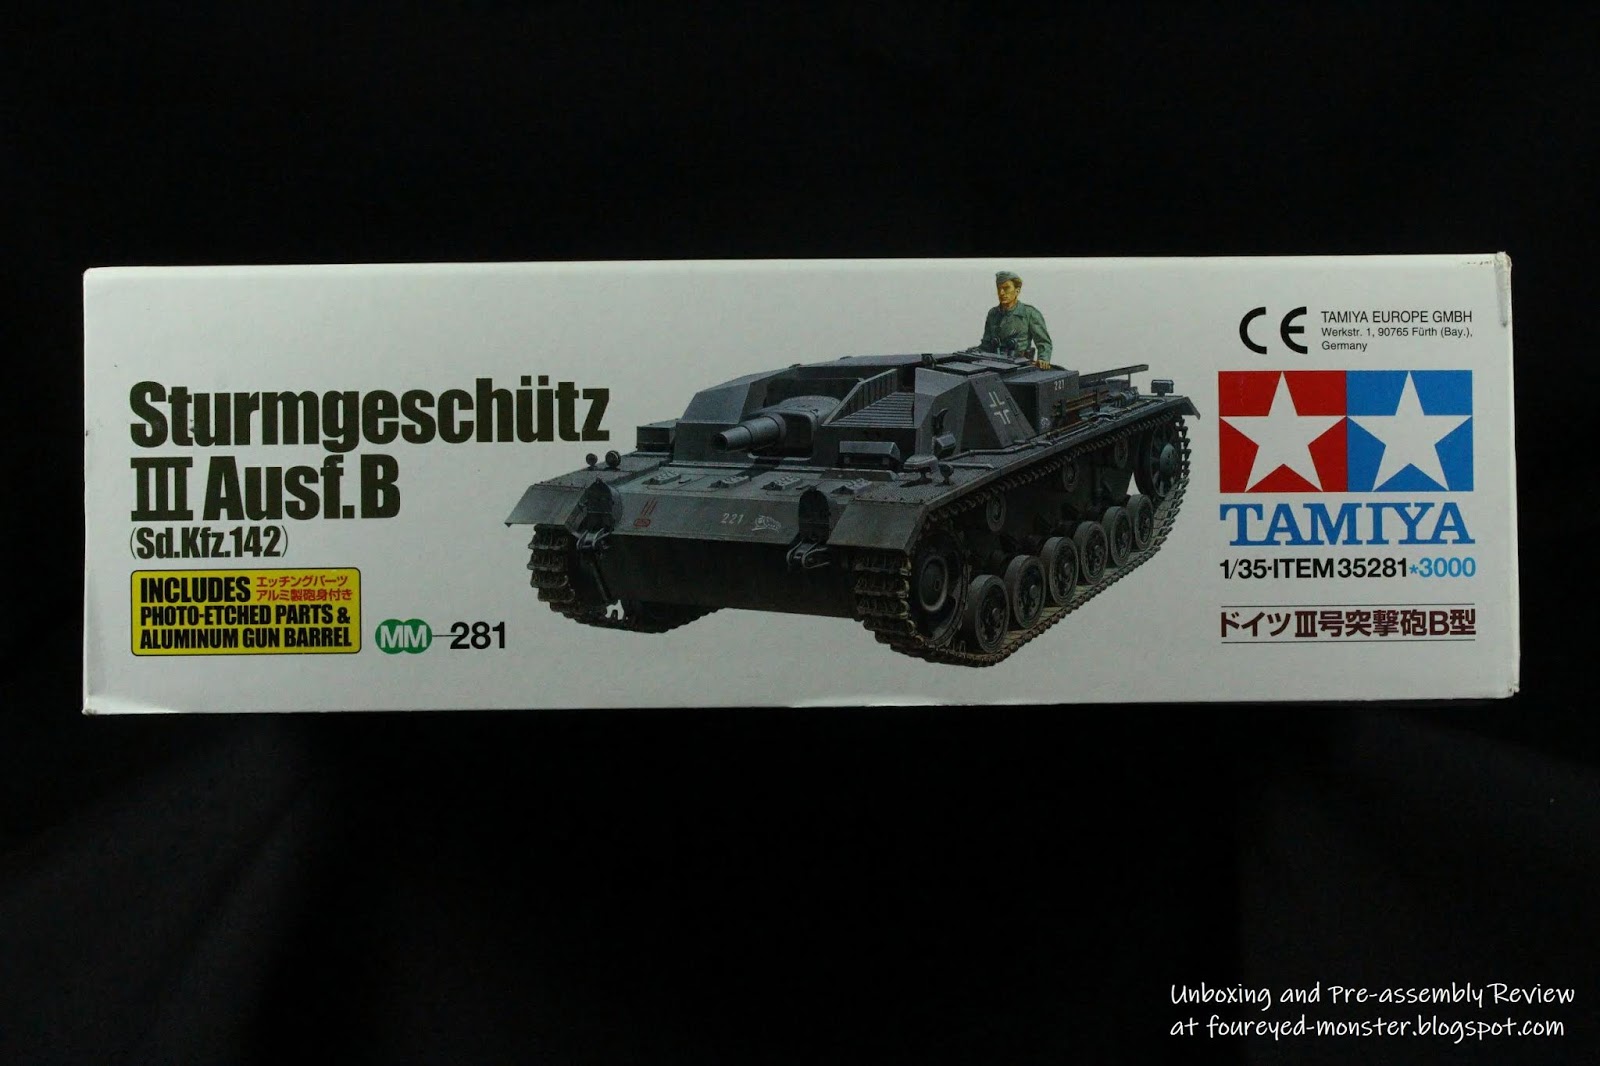
Tamiya 1/35 scale Sturmgeschütz III Ausf.B Sd.Kfz.142 model kit.

Tamiya 1/35 scale Sturmgeschütz III Ausf.B Sd.Kfz.142 plastic model kit

Choosing the Sturmgeschütz III Ausf.B as my next WW2 AFV project will signify a sharp departure from my previous effort in terms of both size and complexity. But more significantly, it will mark a slight change in artistic approach for painting AFVs. My earlier attempts had focused on recreating a realistic yet flat look that can be rather dull. However in this project, I am going to try my hand at an airbrush technique called Color Modulation. In short, this method artificially heightens the contrast between shadows and highlights. It works especially well for hard edges like those found on the Sturmgeschütz. It's widely agreed the end result isn't necessarily realistic but it does look better.

Side box art of the Tamiya Sturmgeschütz III Ausf.B scale model kit
This Tamiya scale model kit comes with the added bonus of photo-etched parts
Plastic sprues, vinyl tracks and photo-etched parts are all neatly packed inside the box

Options for the different versions of Sturmgeschütz III Ausf.B that can be build are displayed in a colored spread, which accompanies the usual black and white instructions. Sturmgeschütz variant is limited to Ausf.B but the kit allows for up to at least six different Assault Gun AFVs that existed historically; all predicated upon markings found on the water decals. These specific six were from either the 1st, 2nd and/or 3rd Kompanie of the Wermacht Panzer Division. My initial plan, subject to change, is to build a specific Sturmgeschütz that saw action on the Eastern Front in 1941.

In addition to black and white instructions, there was a colored guide showing versions that can be build from this kit
Water decals containing vehicle markings for at least six different versions of the Sturmgeschütz III Ausf.B

In one of the few Tamiya kits to include photo-etch parts, the 1/35 scale Sturmgeschütz III Ausf.B Sd.Kfz.142 scale model kit has a small set comprising Notek light covers, grilles and antenna holders.
The kit also provides an Aluminium Gun Barrel that is touted to have been accurately reproduced to include spiral rifling. Apart from this, the other molded parts are generally made from plastic.

Photo-etched parts are available for the gun barrel, engine grilles, antenna holders and Notek light covers

Compared to the King Tiger, the Sturmgeschütz III Ausf.B has relatively fewer parts which translates into lesser sprues. This is to be expected as the Sturmgeschütz is so much smaller in size when compared with the German Heavy Tank. The lower part count is also due to the fact that the tank tracks provided in the Sturmgeschütz kit comprised just two elongated pieces of vinyl rubber. In comparison, the MENG King Tiger kit had sections of the track molded in individual link pieces.   

Lower hull of the Sturmgeschütz III Ausf.B is the largest single molded piece in the kit
Vinyl tank tracks are the only track options available for the Sturmgeschütz III Ausf.B

So far I've only ever build one Tamiya AFV kit namely the T-55A Medium Tank. Compared to the T-55A which had sparse interior details, the Sturmgeschütz devotes a significant amount of part count to its interior including the assault gun, which is the main component of its crew compartment. The rest of the sprue mainly consists of the outer hull sections/details, suspension system and wheels. And only one miniature figurine is included in this kit: a crew member standing upright.

Sprue A & E: Tank wheels, rollers, suspension arms, miscellanous parts
Sprue B & C: Upper hull sections, tow cables, etc.
Sprue D: Gun assembly parts, bulkhead, tank crew figure, etc.

Interestingly enough, Tamiya also included four separate suspension springs. I assume these metal springs, together with the suspension arms and rollers, provide a rudimentary suspension system for the Sturmgeschütz. But until I assemble the whole thing I cannot tell for sure. And as is standard is all Tamiya AFV kits as far as I can tell, poly-caps are also provided. These poly-caps allow the creation of smooth and secure joints without the need for glue, and are usually used on the wheels section.

Two different sizes of poly-caps and four individual suspension springs for the track wheels

In most cases, each new hobby project tends to coincide with a chance to learn new techniques. And because the Tamiya 1/35 scale Sturmgeschütz III Ausf.B Sd.Kfz.142 model kit builds into a fairly flattened hull with numerous hard edges, it should in theory enable an easier and straightforward Color Modulation process. Moreover the Sturmgeschütz is relatively small in size thus requiring less work (and time) before an end result can be seen. That's the idea anyway.

You know you wants its ... gollum, gollum

More importantly however, this kit allows me to make a dent in my substantial AFV kit hoard, of which I've decided to stop adding to until I can finish at least ten from the existing pile. In short, no more buying new AFV model kits ... for now. But that new Tamiya WW2 tank kit looks really cool. No, I can't. What's one more? The missus won't notice surely. I have too much already. I ... I just can't. That's a limited edition you know. Arghhh, get out of my head. Gollum, gollum!

https://www.facebook.com/FourEyedMonster-313145002078520/

Related Posts Plugin for WordPress, Blogger...