Neon Genesis Evangelion was the first anime I owned in hard copy in the form of DVDs which I had scrounged and saved to buy, a few years after entering the workforce. So naturally the Evangelion series holds special meaning for me. Directed by Anno Hideaki, this iconic mecha anime first aired in 1995 in Japan. It has since seen a reboot through a series of movies i.e.
Evangelion: 1.0 You Are (Not) Alone [1997];
Evangelion: 2.0 You Can (Not) Advance [2009];
Evangelion: 3.0 You Can (Not) Redo [2012]; and
Evangelion: 3.0 + 1.0 [eta 2020]. It took me long enough but I finally got my hands on some Evangelion scale model kits and resin figurines to add to my project pipeline.
As my personal hobby convention would dictate, wherever possible each project universe should comprise a scale model (mecha/vehicle) and figurine kit. Sometimes it's only possible to find either one or the other and not both. So far I've been lucky as two other sci-fi anime universes included in my project pipeline had both (
check out the third- and second-last photos below).
 |
| Bandai Limited Model High Grade kits of the EVA-00 and EVA-01 as well as a 1/6 scale resin cast of Rei Ayanami |
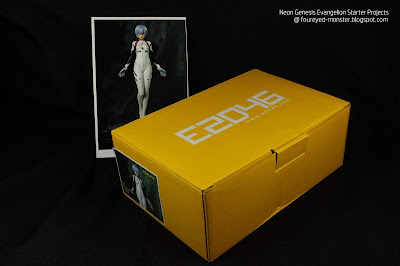 |
| E2046 miniature 1/6 scale resin figurine kit of Rei Ayanami |
 |
| Bandai Limited Model High Grade plastic scale model kit of EVA-01 Test Type |
 |
| Bandai Limited Model High Grade plastic scale model kit of EVA-00 Protoype |
Both the
EVA-00 Prototype (Yellow) and
EVA-01 Test Type model kits were chosen for a specific reason. In
Episode 6: Showdown in Tokyo-3 of the original series, there was a scene in which
EVA-00 holds up a shield to protect
EVA-01 from a
Fifth Angel attack as the latter was preparing to take another sniper shot at the angel. It's a cool scene I would love to recreate in a diorama, if I can find miniature trees in the correct scale. If not, I'll just pose them together sans a diorama setting. As for the figurine, my first from this universe will be
Rei Ayanami who is the
EVA-00 pilot.
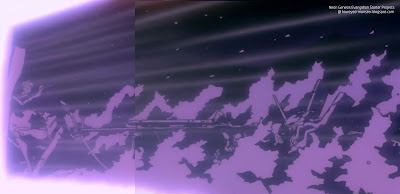 |
| Screen capture montage of a scene showing the EVA-00 (left) and EVA-01 (right) |
Back in the 90s when I first got into anime in a big way, there weren't many shows which held my interest. For a show to interest me then it had to have two things going for it. A great storyline and excellent animation. The latter characteristic was harder to come by in an age when digital animation technology wasn't the norm like it is today. So back then what caught my eye was work by directors like Anno Hedeaki (
Neon Genesis Evangelion), Watanabe Shinichirō (
Cowboy Beebop), Oshii Mamoru (
Ghost in the Shell) and the great Miyazaki Hayao (
My Neighbor Totoro, etc.). And my first anime series was of course Anno's 26 episode Evangelion which debuted in 1995.
 |
| DVDs of the original 26 episode series and The End of Evangelion movie still in pristine condition |
Aside from the DVDs which I have carefully kept in pristine condition (
see above), other Evangelion keepsakes included
Gashapon or capsule toys I was collecting at a time when I was introducing my then young son to anime. (Incidentally it was then, sometime in the last decade, when I dropped the "excellent animation" requirement and just chose to enjoy any anime with a good storyline with him.)
Gashapon, they are dispensed from vending machines in a random fashion so that you are never sure of what you will get apart from a limited range of products that is specified. What I remember is being extremely lucky in that I got Rei, Asuka and Shinji (
see below) almost on my first try.
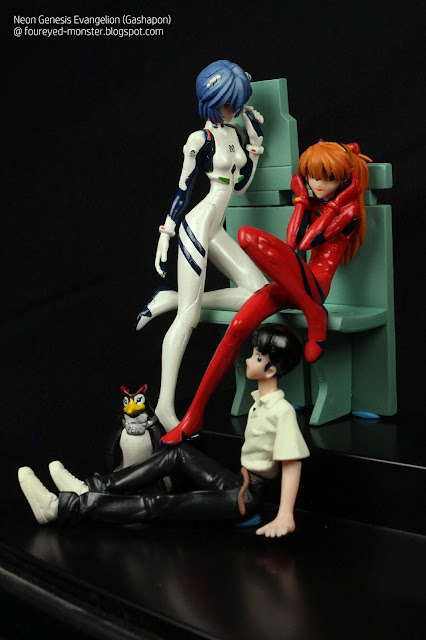 |
| Neon Genesis Evangelion Gashapon or Japanese capsule toys |
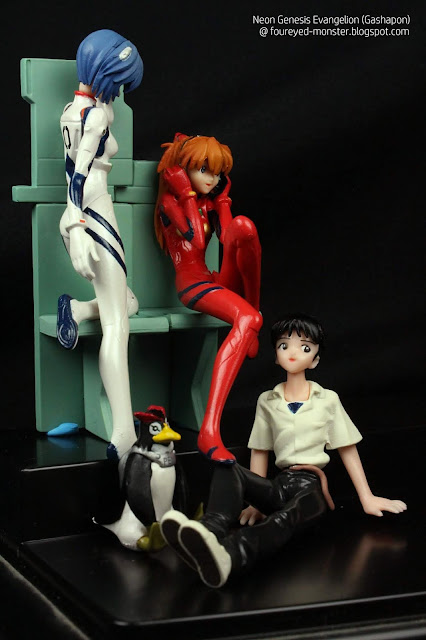 |
| Three separate capsule toys consisting of Rei Ayanami (left), Asuka Langley Soryu (center) and Shinji Ikari (left) |
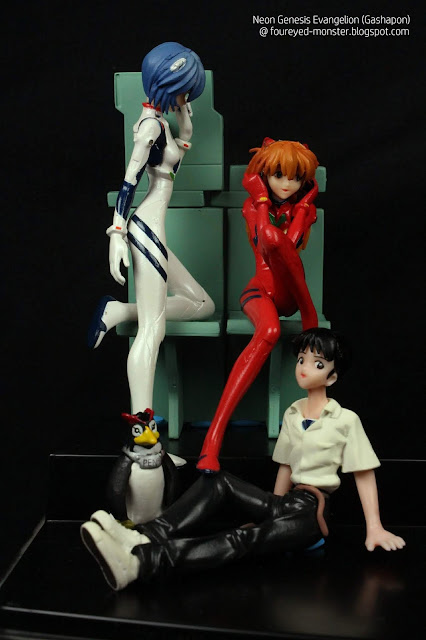 |
| Pen Pen the penguin came together with the seated Shinji Ikari figurine |
Also in my collection is a recent addition i.e. an artbook titled
Evangelion Illustrations 2007-2017 (
see below) published just last month by
VIZ Media. This artbook showcases illustrations featuring characters from the series that was used on bullet trains, CD covers, film posters, etc. Here's a bit of trivia: when I first saw the characters drinking
UCC Coffee I had no idea that it would eventually become my favourite brand of coffee. Now I drink up to three cups of the stuff everyday.
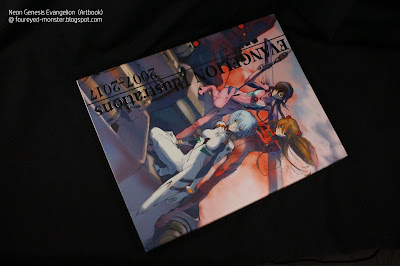 |
| Recently released artbook Evangelion Illustrations 2007-2017 is an English version of the Japanese original |
 |
Back cover of Evangelion Illustrations 2007-2017 artbook
|
 |
| Artbook contains a decade's worth of Evangelion illustrations used in various commercial settings |
 |
| Sample page of Evangelion art work showcasing the characters and EVA units |
 |
| Yet another sample page of Evangelion artwork; this time on the female characters |
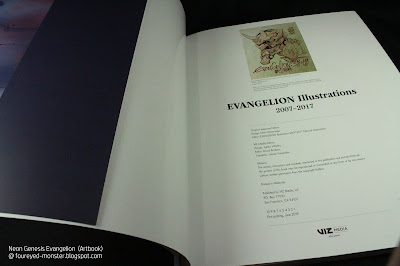 |
| Info on the last page clearly shows that this artbook was published just last month, June 2019 |
As mentioned above, there are actually two other E2046 resin cast figurines (
see below) in my project pipeline, and it's highly likely that either one would precede Rei Ayanami on the airbrush turntable.
 |
| Mobile Suit Gundam universe project pairing of the RX-78-2 and Sayla Mass |
 |
| Space Battleship Yamato 2199 pairing of the battleship (Cosmo Reverse version) and Yurisha Iscandar |
Before starting work on any new figurine, I have to first finish painting the
Race Queen. She is coming along nicely and should be the next hobby project to be completed. After that I will decide on who next to paint ... either
Sayla Mass from the
Mobile Suit Gundam universe,
Yurisha Iscandar from the
Space Battleship Yamato 2199 universe or
Rei Ayanami from the
Evangelion universe.
So that's that. A new sci-fi universe has entered my project pipeline.
Neon Genesis Evangelion it is.











.jpg)