Sunday, 6 December 2020

Getting in the mood for some World War 2 (WW2) scale model kit projects

 Hello, my name is FourEyedMonster and I am a 'modelholic'. There, I said it. No, no ... not the kind that is addicted to ogling at Victoria Secret runway models. More the type that has collected (which sounds better than unnecessarily splurged money on) way too many scale model kits. And as much as I hate to admit it, possibly more model kits than I can finish in one lifetime. Weirdly enough, this personal admission is truer for 1/35 scale WW2 armored fighting vehicles (AFVs) than any other model kits from different genres. More to the point, I need to start working on an AFV soon.


German soldiers advance outside Stalingrad late in 1942 (source: The Atlantic)

Soviet soldiers in the rubble of Stalingrad, autumn 1942 (source: The Atlantic)

 And the oddity that's me translates this situation into a need to first get psyched for the genre before any AFV project even gets off the ground. Usually this would involve reading historical books as well as watching shows and documentaries about WW2. But with the year-end being my traditional PC gaming binge period, I am instead building up excitement about WW2 AFV model kit projects via turn-based wargaming of the digital kind. And to me, nothing epitomizes WW2 digital wargaming like the Gary Grigsby series i.e. War in the East: The German-Soviet War 1941-45 and War in the West.


Gary Grigsby's War in the East: The German-Soviet War 1941-45

Screenshot of the complex computer wargame that is War in the East

 Both Gary Grigsby games sport manuals with lengthy page counts: 382 pages for War in the East and 311 pages for War in the West. Being the type who meticulously pours over every inch of a manual before play begins, I have a ways to go before I get to truly enjoy these wargames as they are meant to be played. As a side note, my OCD tendencies has also caused me to complement my digital wargaming experience with two, even thicker, historically accurate books namely Atlas of the Eastern Front: 1941-45 by Robert Kirchubel and Atlas of the European Campaign: 1944-45 by Steven J. Zaloga. If you are into military history, you'll love both books. More on them in a future post.   


Gary Grigsby's War in the West

Screenshot of the equally complex computer wargame that is War in the West

 Still complicated yet less so than the Gary Grigsby's wargames are the Hearts of Iron turn-based strategy series. The third version is arguably more intricate than the latest iteration, with the former focused on micromanaging tactical warfare of military units while the latter leans more towards the management of a nations strategy during wartime. In this way both play differently which makes for a richer experience for digital wargaming enthusiasts who are already spoilt for choice as it is.    


Hearts of Iron III Collection with all the DLCs, a turn-based strategy game

Screenshot of Hearts of Iron III showing Germany prior to the start of WW2

 While both still at its core still involve battles between opposing armies at the division level, Hearts of Iron III requires micromanagment from the Brigade to Division to Corps to Army to Group then all the way to Army HQ level. In comparison, Hearts of Iron IV deals with military units at the Battalion level (bypassing Brigade) to Division and to Group (the latter two are levels a player can directly affect). But Heart of Iron IV makes up for this 'lack of detail in unit warfare' by having more fleshed out components in other areas ranging from politics, espionage, resistance, etc.


Hearts of Iron IV (shown here with the Waking the Tiger DLC)

Screenshot of Hearts of Iron IV with the player in control of prewar China

 Then there are those couple of digital wargames that I own, yet remain uninstalled due to lack of hard disk space as well as the graphical limitations of my personal laptop. Hybrid turn-based/real-time strategy games such as Graviteam Tactics: Operation Star, Graviteam Tactics: Mius Front and Steel Division: Normandy 44 are complicated wargames with fairly heavy graphic requirements. As such, these wargames would ideally necessitate a hardware upgrade on my part before I can run them at optimal graphic settings. Ironically, these are just the sort of games with a detailed enough graphical rendition of WW2 AFVs that would inspire me to work on a 1/35 scale version.     


Graviteam Tactics: Operation Star, a real-time/turn-based strategy hybrid set in Russia 

A battle in Operation Star during what I believe is in the early hours of the morning

Graviteam Tactics: Mius Front, another real-time/turn-based strategy hybrid

Mius Front depicts the incongruity of war in its graphical improvement from Operation Star

Steel Division: Normandy 44, a tactical real time strategy game

As its name implies, the first iteration of Steel Division focuses on the Western Front

 For times when I don't want to put too much thought into micromanaging, I turn to Panzercrops. Of all the wargames I have, this one is would be the easiest for a digital wargaming newbie to start with. This is not at all a slight to the creators. In fact I love this game, but it is undeniably a simplified turn-based strategy game that isn't as detailed and realistic as most of the titles mentioned above. Yet with that being said, Panzercorps is still way more complicated than your average real-time strategy game. Moreover its fun and in its own way contributes to getting me into the mood for AFV projects.


Panzer Corps Gold Edition includes all DLCs released for the base game

Screenshot of Panzer Corps, arguably the least complex of all the wargames on show here

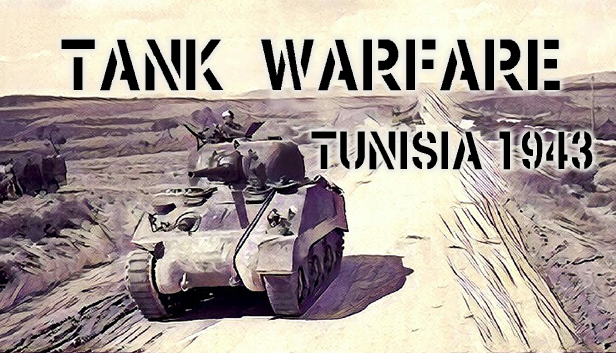
 Even with all these games in hand, the -holic in me can't help but take center stage again, this time as a 'gamerholic' with seemingly more games than I have time for. Granted that I got most of them at huge discounts of ranging from 40% up to 90% off, I still have too many. Worse still, I have even more on my wishlist e.g. Steel Division II (which focuses on the Eastern Front), Panzercorps 2 (which has better graphics than the first iteration) and Tank Warfare: Tunisia 1943 (from the team that brought you the Garviteam Tactics series). Admittedly this is consumerism at its worst.    


Steel Division II by Paradox Interactive

In its second iteration, Steel Division focuses on the Eastern Front 

Panzer Corps 2, more turn-based goodness from the folks at Flashback Games

Panzer Corps 2 clearly has superior graphics compared with the first version 

Tank Warfare: Tunisia 1943, the latest real-time/turn-based hybrid by Graviteam

In-game shot of Tank Warfare showing Tiger tanks prowling in the desert night

 So I guess the -holic cycle has come full circle. It would be an even bigger irony now if this vicious circle requires me to complete some AFV scale model kit projects in order to get psyched up for digital wargaming. Hah! Now that's irony. Speaking or ironies, here's an apt quote about war in general to round off this post ... “It is forbidden to kill; therefore all murderers are punished unless they kill in large numbers and to the sound of trumpets.” - Voltaire


https://www.facebook.com/FourEyedMonster-313145002078520/

https://shireworks.blogspot.com/https://www.facebook.com/shire.works

Wednesday, 25 November 2020

Star Wars Speeder Bike [WIP - Prep Work & Priming the Hull Plating and Steering Vanes]

 Unless you're a scale modeler or miniature painter yourself, it's hard to wrap your head around how time consuming preparatory work is, leading to (and including) the priming stage. Yet it was only after many trials and tribulations that I truly understood the futility of rushing through this initial process. For the longest time, I had impatiently carried out prep work only to rant and rave later on when I hit self-inflicted speed bumps e.g. still visible mold-lines underneath the primer coat, surface areas that weren't sanded down properly before being primed, etc. These issues then in turn adversely affected the painting stage, resulting in subpar paint jobs that were more eyesore than eye candy.           


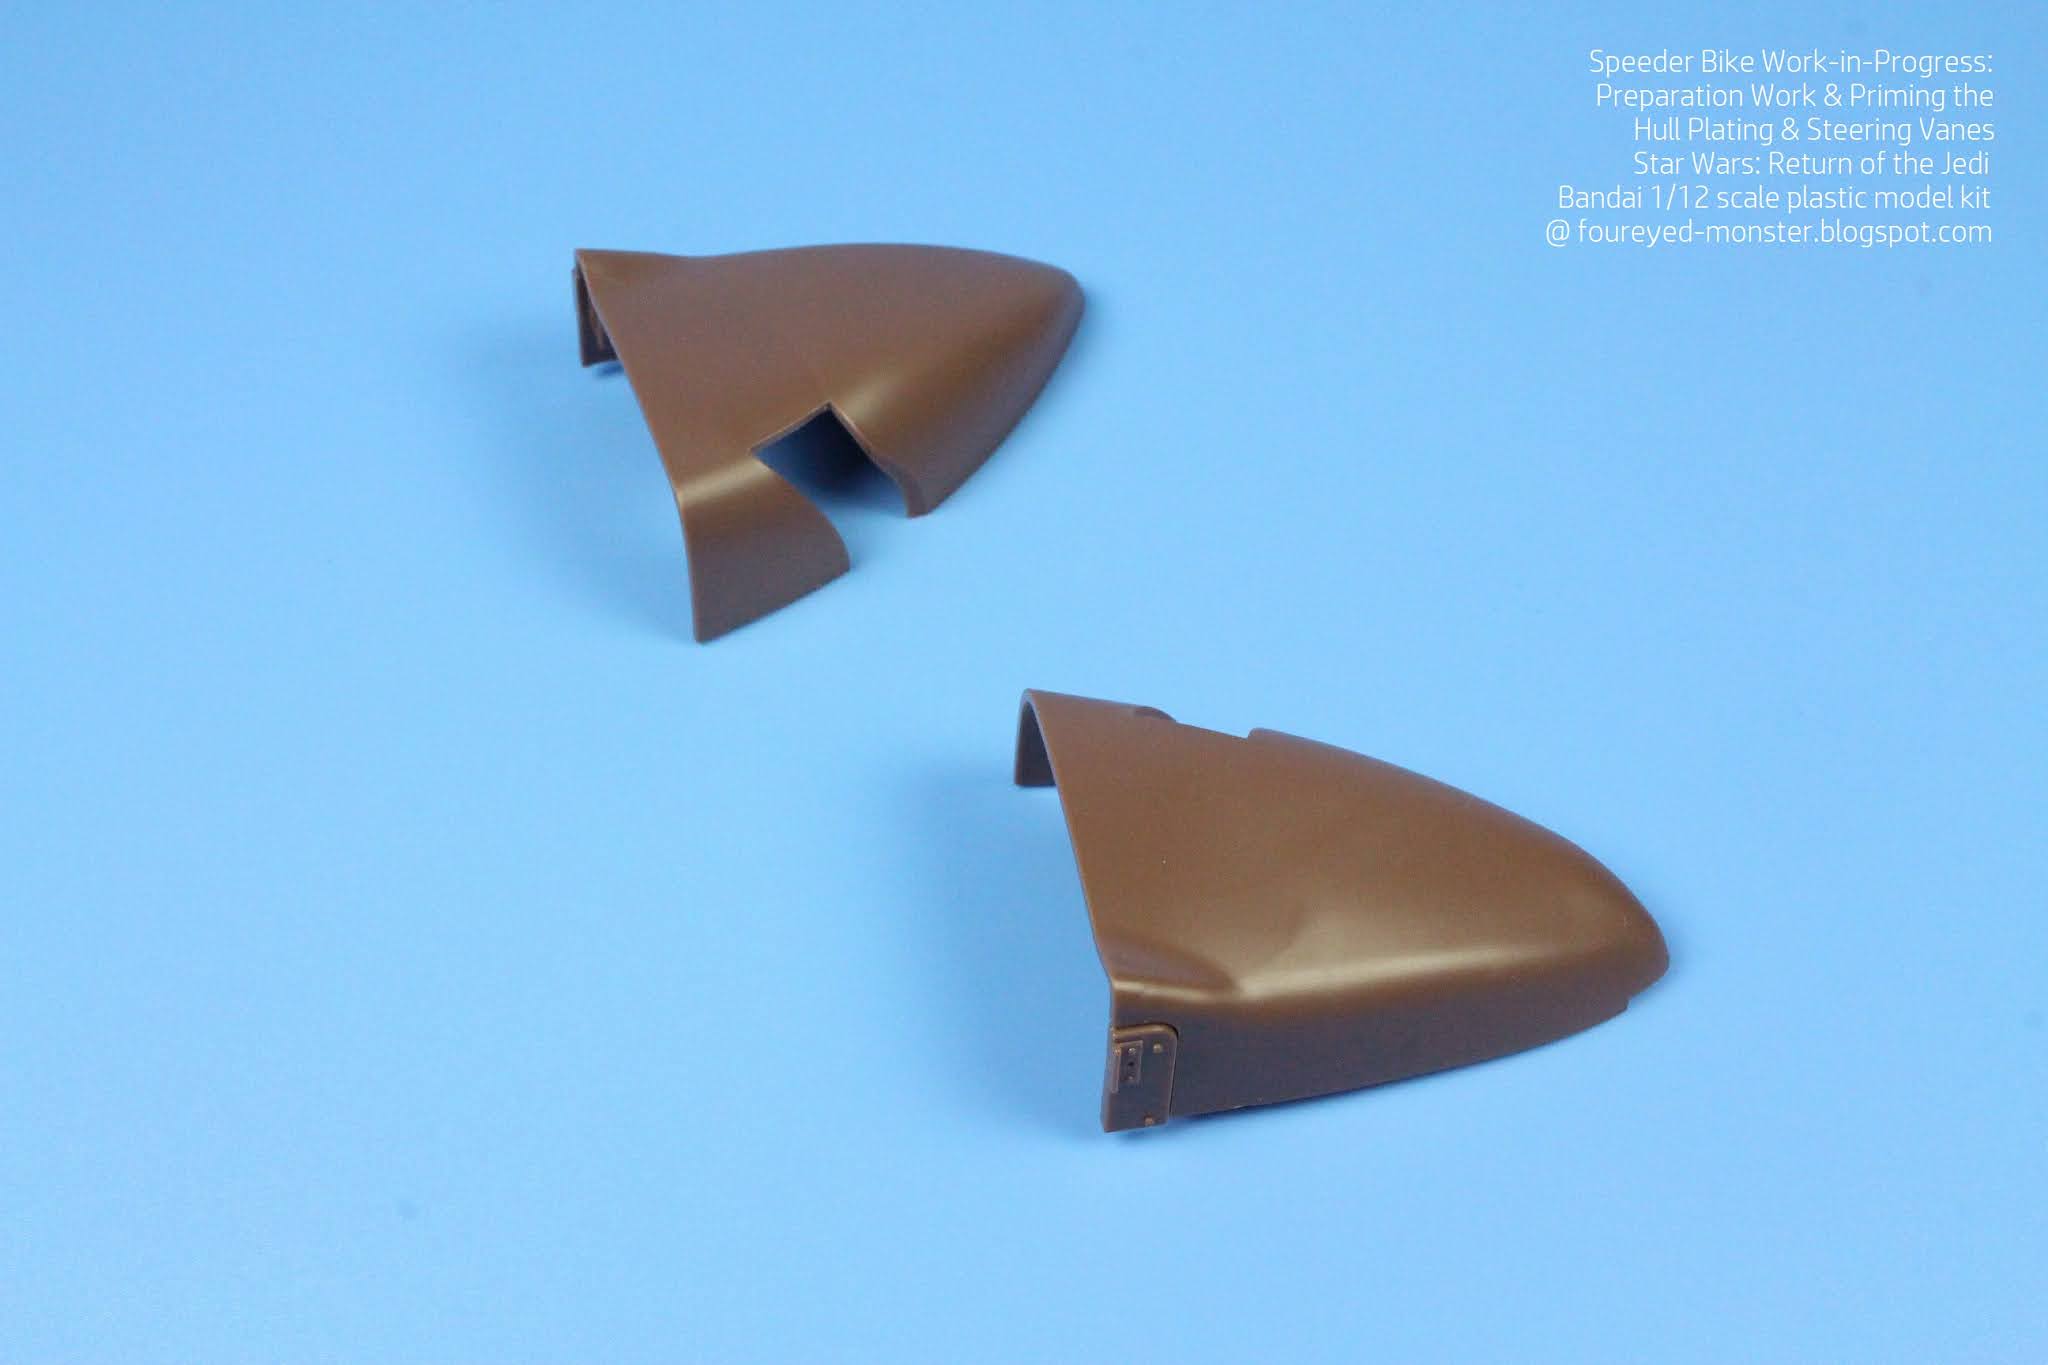
Individual parts making up the Speeder Bike's Hull Plating and Steering Vanes ...

... were all conveniently located on a single sprue, which is always a time-saver

 While still prone to the occasional lapses of impatience, I have largely been more careful at the prep and priming stages. The trade-off is much slower progress on projects but it's preferable to a botched paint job. So with this in mind, work on the Speeder Bike began on the Hull Plating and Steering Vane pieces. Things got off to a good start with all the parts of the Speeder Bike Hull Plating and Steering Vanes being molded onto a single sprue (see above). A small but convenient blessing that speeds up the initial work process, which began with the Upper Hull assembly (see below).  


Parts making up the Speeder Bike's Upper Hull Plating

Assembly begins with the front and back halves of the Upper Hull being put together ...

... followed by two Side Hull Plating pieces on the mid-section of the bike ...

... and then two small structures (serving to partially support the handle bars) are inserted

 Apart from the Upper Hull section, the other parts of the Speeder Bike comprised mainly of individual pieces such as the Steering Vanes and Bottom Hull piece (see below). There were two other mini sub-assemblies i.e. the Rear Hull though these smaller sections comprised only two parts each (also below). The former didn't require any assembly while the latter needed only minimal assembly.


Pieces of the Steering Vanes as well as Bottom Hull Plating of the Speeder Bike

Assembled Upper Hull Plating of the Speeder Bike as seen in an isometric view

Opposite isometric view of the Speeder Bike's Upper Hull Plating

Individual pieces of the Rear Hull Plating are easily assembled ...

... which brings up the question of why Bandai didn't mold it as single pieces

 Two criteria that concerned me most while preparing the pieces for painting were the need to ensure that (a) the pieces were held securely so that they didn't move too much during painting, and (b) the surface areas to be painted weren't inadvertently covered up in the process. This lead me to use painting clips as well as bamboo sticks/skewers (with adhesive tacks in some cases) to secure the sub-assemblies and individual parts for airbrushing. Of the two, the bamboo implements weren't as effective but formed the only option when the pieces had nothing of note for the clips to hold on to.


Individual parts and sub-assemblies of the Speeder Bike's Upper Hull Plating & Steering Vanes

Hull Plating and Steering Vane parts/sub-assemblies all set up for its primer coat

 Meanwhile the priming process itself went off without a hitch. For once, random dust or foreign particles didn't land on the parts while I was spraying the primer outdoors. As minor a win as that is I'll take it. Also in line with my previous blog post, I plan to airbrush black primer/paint onto the shadow areas of the Hull Plating and Steering Vanes in order to achieve a contrast in shade for the subsequent brown basecoat layer. This I'll do once I determine where to place the shadows. 


Light gray primer was then applied onto the Hull Plating and Steering Vane parts/sub-assemblies

 Nothing sets up my anticipation of things to come like a freshly laid primer coat on parts and sub-assemblies that form the major component of a scale model kit. The next step of placing shadows before a basecoat is even airbrushed will be a first for me. Apart from determining where the shadows should lie, that's another reason why I chose to take a slight breather before making the attempt. I need gather my courage to try something new and overcome the fear of screwing things up. It's only a hobby I know, yet there is still trepidation at the unknown. As so aptly put by Michael Scott from The Office ... “And I knew exactly what to do. But in a much more real sense, I had no idea what to do.”


https://shireworks.blogspot.com/https://www.facebook.com/shire.works

http://shireworks.blogspot.com/p/custom-painted.html

Friday, 13 November 2020

Star Wars Speeder Bike [WIP - Color for the Hull Plating & Steering Vanes]

 Color accuracy is one of many factors contributing to a realistic rendering of a scale model kit that is intended to closely mimic its "real-life" equivalent as seen on the big screen. For the iconic Speeder Bike that made its box office debut in Star Wars: Return of the Jedi, this factor is the brown color on its Hull Plating and Steering Vanes. Getting the right tone requires adding a little gray onto a mixture of mahogany and light wood brown. The recipe for this specific brown hue was provided by the kit's official color guide, which use paints from the Mr.Hobby Mr.Color line. In addition, I also sourced another brown (from Tamiya), which may or may not be used in the final color scheme.


Actual Speeder Bike model that was used in Star Wars: Return of the Jedi

Color molded parts that'll become the Speeder Bike's hull plating and steering vanes

 In pursing color accuracy for the Speeder Bike, a lot of boring and time consuming behind-the-scenes work take place. It doesn't make for an interesting read to someone who is just interested in looking at the final artwork. But for fellow painters and modelers, such behind-the-scenes looks can shave off precious time in a project by providing shortcuts that eliminate the sometimes lengthy research work. At least it did for me, and I sincerely hope it does for some of you out there. 


Color 1: Grayish brown paint mixture painted over a light gray primer base

Color 2: Grayish brown paint mixture painted over a black primer base

Color 3: Brown shade of linoleum painted over a light gray primer base

 As per the color guide, the Speeder Bike brown was mixed using Mr.Color paints i.e. 60% Wood Brown (C43), 40% Mahogany (C42), and a little Neutral Gray (C13). This mixture was airbrushed onto a light gray primer and then a black primer for comparison purposes. From the results of this little experiment, I plan to use the former as the main basecoat and the latter as the shadowed areas. In more technical terms, this is somewhat akin to the Black and White Technique used by Armored Fighting Vehicle (AFV) modelers. It's not exactly the same but the concept is roughly similar.


Brown hues being considered for use on the Speeder Bike Hull Plating & Steering Vanes

 In addition to the Mr.Color paints, I also experimented with a brown from a different product line i.e. Tamiya TS-69 Linoleum Deck Brown. Initially I had gotten this Tamiya paint spray can for use on the Speeder Bike. But this was long before I had invested in an airbrush system; at a time when I had no effective way of spraying a custom paint mixture onto parts. Now that I'm able to do so, I don't need to use the spray can anymore. Despite this, I gave the color a shot and tried it anyway. Unfortunately, this brown looks too reddish for the Speeder Bike. In all likelihood, I won't be using this Tamiya brown at all. There is still an extremely small chance I'll use it for miscellaneous parts, so never say never. 


Paint colors compared with the molded color of the plastic parts

 When all that's said and done, I believe I'll go about painting the iconic brown on the Speeder Bike by first priming all the requisite parts in light gray. Next, I'll spray black onto the shadowed areas of the said parts. Finally I'll airbrush the grayish brown paint mixture onto the Hull Plating and Steering Vanes parts in such a way that the difference in contrast can still be seen. As a test, I primed a spoon first in light gray before spraying strips of black on either sides of it. Then I airbrush the grayish brown mixture onto the whole spoon (see below, spoon second from left). The contrast between the shadowed areas and non-shadowed areas are subtle but it's there.


Most likely color combination to be used is the one located second from left

 So the way forward is set. To be fair, getting the right brown for the Speeder Bike is only the beginning. There are other colors to consider such as the right metal colors, the right back pack colors, the right amount of weathering, etc. But the most visible element of the bike is now settled. As a stickler for details, that's a big step in my books. Well, another weekend is soon upon us so it's time to leave you with a quote that us painters and modelers should do well to heed. This one is from Parks and Recreation's Ron Swanson ... "Never half-ass two things. Whole-ass one thing".  


https://www.facebook.com/FourEyedMonster-313145002078520/

http://shireworks.blogspot.com/p/custom-painted.html

Friday, 6 November 2020

Girl's Rider - Hasegawa 1/12 scale Real Figure Collection No.1 [Unboxing and Dry Fit Review]

 Eager anticipation has always predominated any return I make to projects involving female figurines whatever the scale. So much so that it transcends the severe trepidation I invariably have whenever I take on the challenge of painting realistic skin tone and facial features of said figurines. My ultimate goal is to one day render a paint job so true that it'll be like real life in miniature form. Now this may be a lofty, unattainable goal. But it is one that suggests a long journey ahead, a theme I feel is consistent with this creative hobby. This particular journey will begin with an unboxing and dry fit review of Girl's Rider, a 1/12 scale resin figurine from the Hasegawa Real Figure Collection.          


Hasegawa 1/12 scale Real Figure Collection No.1 - Girl's Rider [Unboxing and Dry Fit Review]

Front and back box art of the 1/12 scale Girl's Rider resin figurine

Side box art of the Girl's Rider resin figurine

 In contrast to scale model kits, the assembly instructions for figurines are generally simple and straightforward. It was no different for the guide included with the Girl's Rider resin figurine kit. The only complication I can foresee is whether the figurine's hair fringes/bangs should be painted first before being glued onto her head or vice versa. Based on preliminary observations, I believe the process to get the fringes/bangs to align properly with the rest of her hair might be a tricky one. Gaps in her head of hair may potentially show up. As such it may become necessary to carry out gap-filling-with-putty work before painting can begin. If this is also true for other parts of the figurine, then the workflow process will likely be assemble all parts, glue, prime, mask appropriately, and paint.   


Hasegawa's instruction booklet for the 1/12 scale Girl's Rider resin figurine

Assembly of the Girl's Rider figurine is fairly straightforward except for the bangs/fringes of her hair

 Upon opening the box, my impressions are that the internal packaging is consistent with Hasegawa's marketing pitch that this figurine is a limited edition premium figurine. First thing that catches the eye is a pinkish red bubble wrap with heart-shaped motifs. This serves to protect the resin parts of the figurine. Comprising two large (head connected to upper torso and one half of the lower torso; other half of the lower torso) and four relatively smaller parts (both arms/hands as well as two hair fringes/bangs), these parts are themselves placed in two separate plastic bags (see below).  


A pinkish red bubble wrap with heart-shaped motifs serves to protect the resin parts

Resin parts themselves are placed inside two small plastic bags

 One undesirable thing of note is that individual resin parts of the figurine will require a fair deal of prep work to ensure the individual parts fit together seamlessly in the future. Because this was a quick dry fit review, the parts you see in the photos below weren't optimally prepped. There is still a ways to go before the parts are fully cleared of mold lines, extraneous resin pieces, etc. As it stands, I'm still not entirely sure if the figurine will exhibit gaps once assembled. Preliminary observations tell me that some minor putty work might be needed though I hope I'm wrong on this. 


Girl's Rider figurine comprises six separate parts - two big with four relatively smaller

 During the dry fit exercise, unsightly seams can be clearly seen from the photos below; reasons of which are partly attributable to factors mentioned in the preceding paragraph. In addition to that, the use of adhesive tacks actually prevents the parts from achieving a seamless fit. Regardless of how thin I try to make the adhesive tacks, they still have a certain volume to them that shouldn't exist when the parts are glued together. For a dry fit, the adhesive tacks serve their purpose adequately enough.


1/12 scale Girl's Rider resin figurine, after being dry-fitted using adhesive tack

Resin figurine's facial features are clear and well molded

For now there is an unsightly seam running down the center of her groin area ...

... but it's more due to the thick adhesive tack used rather than any inherent design flaw

Incredible detail can be seen in the long, individual strands of her hair

In hindsight, adhesive tapes would've probably worked better than adhesive tacks

Front and back view of the dry-fitted Girl's Rider resin figurine

 In addition to the post you see here, I have actually taken a series of videos of the unboxing and dry-fitting process. All of it will be combined into one long video. And once it has been edited, the video will be uploaded to YouTube and the corresponding blog post published. This video should be far more informative and instructive than the post you see here, so it should be worth a look once it's done. Until then I leave you with a quote from my favorite character from Downton Abbey namely Dowager Countess Violet Crawley ... My dear, all life is a series of problems which we must try and solve, first one and then the next and then the next, until at last we die.  


https://shireworks.blogspot.com/https://www.facebook.com/shire.works

http://shireworks.blogspot.com/p/custom-painted.html

Related Posts Plugin for WordPress, Blogger...