Unless you're a scale modeler or miniature painter yourself, it's hard to wrap your head around how time consuming preparatory work is, leading to (and including) the priming stage. Yet it was only after many trials and tribulations that I truly understood the futility of rushing through this initial process. For the longest time, I had impatiently carried out prep work only to rant and rave later on when I hit self-inflicted speed bumps e.g. still visible mold-lines underneath the primer coat, surface areas that weren't sanded down properly before being primed, etc. These issues then in turn adversely affected the painting stage, resulting in subpar paint jobs that were more eyesore than eye candy.
 |
Individual parts making up the Speeder Bike's Hull Plating and Steering Vanes ...
|
 |
... were all conveniently located on a single sprue, which is always a time-saver
|
While still prone to the occasional lapses of impatience, I have largely been more careful at the prep and priming stages. The trade-off is much slower progress on projects but it's preferable to a botched paint job. So with this in mind, work on the Speeder Bike began on the Hull Plating and Steering Vane pieces. Things got off to a good start with all the parts of the Speeder Bike Hull Plating and Steering Vanes being molded onto a single sprue (see above). A small but convenient blessing that speeds up the initial work process, which began with the Upper Hull assembly (see below).
 |
Parts making up the Speeder Bike's Upper Hull Plating
|
 |
Assembly begins with the front and back halves of the Upper Hull being put together ...
|
 |
... followed by two Side Hull Plating pieces on the mid-section of the bike ...
|
 |
... and then two small structures (serving to partially support the handle bars) are inserted
|
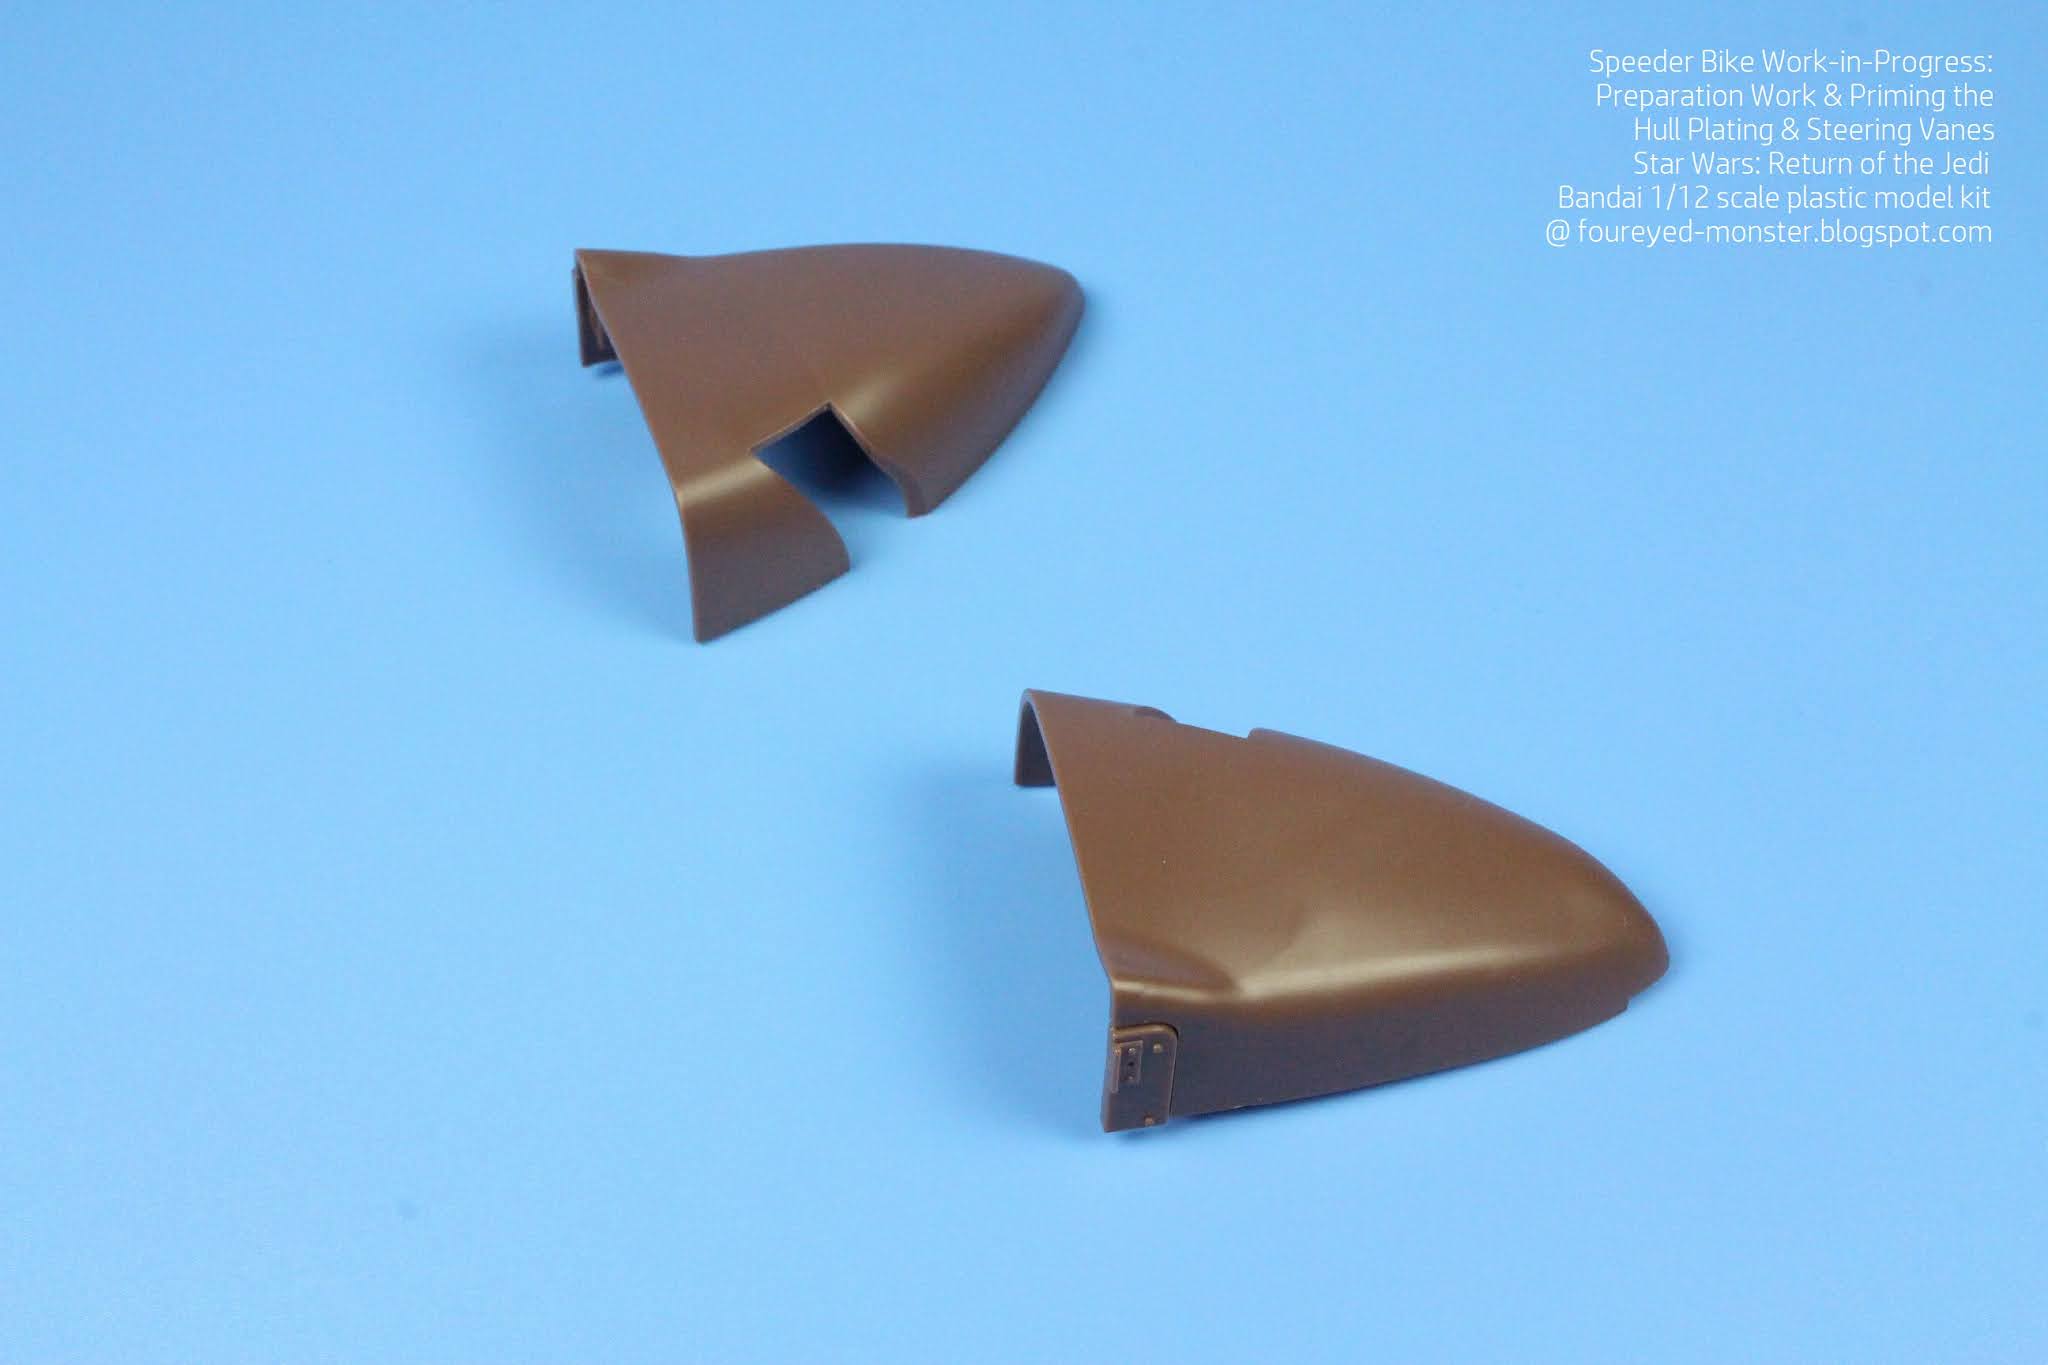
Apart from the Upper Hull section, the other parts of the Speeder Bike comprised mainly of individual pieces such as the Steering Vanes and Bottom Hull piece (see below). There were two other mini sub-assemblies i.e. the Rear Hull though these smaller sections comprised only two parts each (also below). The former didn't require any assembly while the latter needed only minimal assembly.
 |
Pieces of the Steering Vanes as well as Bottom Hull Plating of the Speeder Bike
|
 |
Assembled Upper Hull Plating of the Speeder Bike as seen in an isometric view
|
 |
Opposite isometric view of the Speeder Bike's Upper Hull Plating
|
 |
Individual pieces of the Rear Hull Plating are easily assembled ...
|
 |
... which brings up the question of why Bandai didn't mold it as single pieces
|
Two criteria that concerned me most while preparing the pieces for painting were the need to ensure that (a) the pieces were held securely so that they didn't move too much during painting, and (b) the surface areas to be painted weren't inadvertently covered up in the process. This lead me to use painting clips as well as bamboo sticks/skewers (with adhesive tacks in some cases) to secure the sub-assemblies and individual parts for airbrushing. Of the two, the bamboo implements weren't as effective but formed the only option when the pieces had nothing of note for the clips to hold on to.
 |
Individual parts and sub-assemblies of the Speeder Bike's Upper Hull Plating & Steering Vanes
|
 |
Hull Plating and Steering Vane parts/sub-assemblies all set up for its primer coat
|
Meanwhile the priming process itself went off without a hitch. For once, random dust or foreign particles didn't land on the parts while I was spraying the primer outdoors. As minor a win as that is I'll take it. Also in line with my previous blog post, I plan to airbrush black primer/paint onto the shadow areas of the Hull Plating and Steering Vanes in order to achieve a contrast in shade for the subsequent brown basecoat layer. This I'll do once I determine where to place the shadows.
 |
| Light gray primer was then applied onto the Hull Plating and Steering Vane parts/sub-assemblies |
Nothing sets up my anticipation of things to come like a freshly laid
primer coat on parts and sub-assemblies that form the major component of
a scale model kit. The next step of placing shadows before a basecoat is even airbrushed will be a first for me. Apart from determining where the shadows should lie, that's another reason why I chose to take a slight breather before making the attempt. I need gather my courage to try something new and overcome the fear of screwing things up. It's only a hobby I know, yet there is still trepidation at the unknown. As so aptly put by Michael Scott from The Office ... “And I knew exactly what to do. But in a much more real sense, I had no idea what to do.”


.jpg)


Can wait for more sir!
ReplyDeleteThank you sir!
DeleteGreat work Kuan , looking forward to see more progress!
ReplyDeleteGreetings
Thanks Mario. My project progresses are so slow, as such I thank you for your patience.
DeleteLooks nice, good luck!
ReplyDeleteThank you. I'll need all the luck I can get :)
DeleteRight, all the preparations are always time consuming; sometimes it needs something from you to keep on focused, but I believe you are right and you must not fall into the temptation of rushing anything. This will be great, I have no doubt.
ReplyDeleteYour confidence (and patience) is most reassuring, thank you friend :)
DeleteI applaud your patience! Something I'm sadly lacking. Looking forward to see it coming together
ReplyDeleteIf you are following my posts (as you so kindly are) then you have more patience then you credit yourself for XD ; Thank you for you, Moiterei, for your kind words :)
Delete