Even before any significant layer of paint has been applied, it already feels like I've achieved a lot of progress in the
Tamiya 1/35 scale T-55A Medium Tank. The key phrase here is
feels like because all I've actually done up to now is only prime and basecoat the scale model. And yet many hours have been poured into the tank just to prep, prime and basecoat it. But as insanely monotonous as the whole process was, it's still an important one to do carefully and patiently. A good foundation is critical for the subsequent painting and weathering process to have any chance of turning out well.
 |
| Tamiya's Fine Surface Primer retains the rough texture on the turret |
 |
| Mr Hobby's Mr Surfacer 1200 (Gray) and Tamiya's Fine Surface Primer (Light Gray) |
Two types of primers were used because I wanted to try out the
Mr Hobby Mr Surfacer 1200 as a complement to my trusted go-to brand i.e. the
Tamiya Fine Surface Primer. Where I live, the former is cheaper to source thus affording me an alternative with which to stretch the hobby budget out. As I didn't know how the
Mr Surfacer 1200 would perform in hot and humid weather, I tested it out on the road wheels, tracks and gun barrel. The first two was chosen because if things went wrong I could compensate with extensive weathering while the gun didn't have any fine details a primer could hide.
 |
| Each wheel was primed (and later basecoated) individually making it a time-consuming affair |
 |
| Other than the wheels, the tank's gun barrel and tracks were also primed using Mr Surfacer 1200 |
As it turns out I had nothing to worry about as
Mr Surfacer 1200 worked great. The resulting primer coat was fine enough that no details were lost/covered up. And as for the rest of the tank (i.e. turret, hull, commander, snorkel, unditching log, tow cables and fuel drums), they were primed using the
Tamiya Fine Surfacre Primer and produced the usual excellent results. For an idea of just how fine the resulting
Tamiya primer coat was, take a look at the first photo in this post. All part details as well as turret texture was well preserved. In short both primers worked well in hot and humid weather.
 |
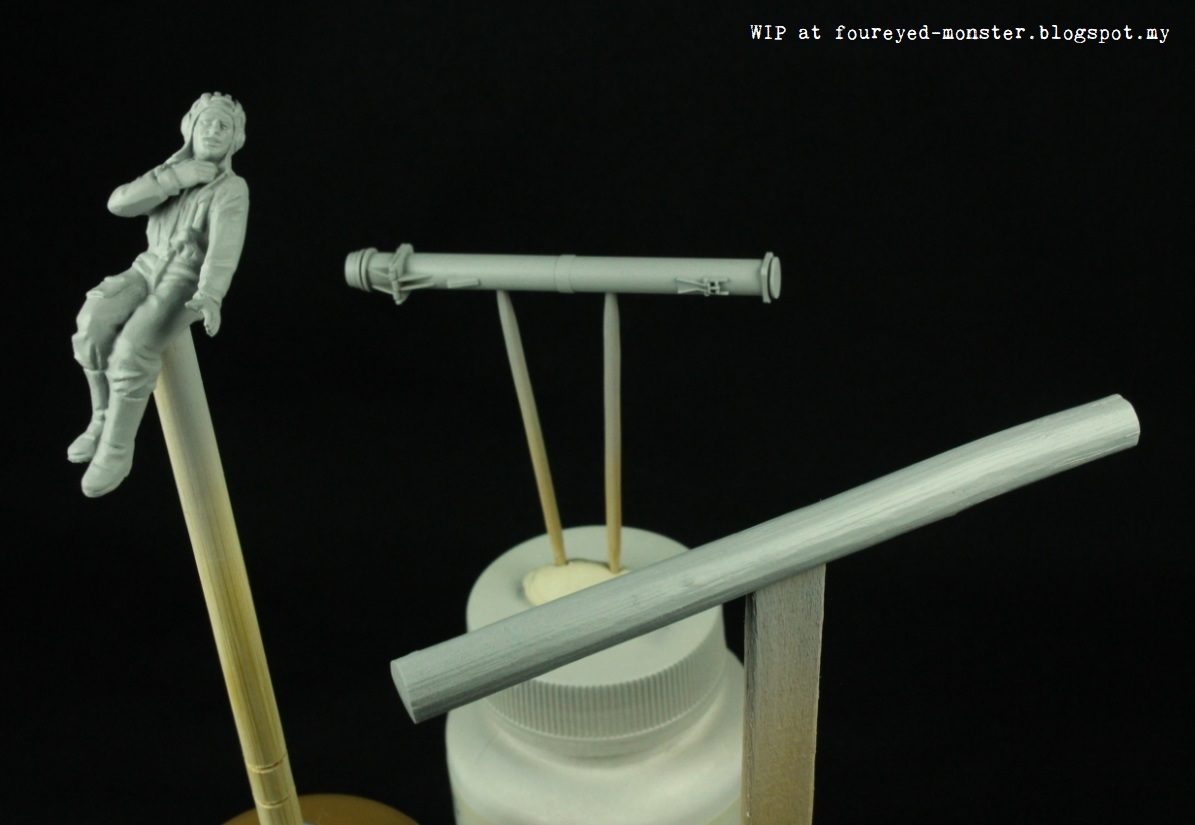
| Figurine, unditching log/beam and to a lesser extent the snorkel was primed using Tamiya |
 |
| Priming tow cables with a spray can lead to unnecessary wastage; something to avoid in the future |
 |
| Each and every part detail and texture was well preserved by the Tamiya Fine Surface Primer |
 |
| Eagle-eyed modellers would've spotted injector pin marks on the inside of the turret hatch |
 |
| Wheel support arms were masked off to prevent paint/primer getting on them and affecting assembly later on |
 |
| Tamiya's primer was fine enough to prime the mesh/grilles and not affect its details |
While allowing the primer coat to dry overnight, I tried out two
Tamiya greens to try and match the primary colour of the Czechoslovakian Army T-55A tank. As you can see from the immediate photograph below, the spoon on the left (sprayed with
Tamiya TS-28 Olive Drab 2) was a better match when compared with the spoon on the left (
Tamiya TS-61 Nato Green). Technically, the recommended colour for this version of the tank was
Tamiya XF-51 Khaki Drab. However, I felt that that colour was too dull as the primary hue considering the tank will undergo further weathering.
 |
| Comparing TS-28 Olive Drab 2 (left) to TS-61 Nato Green (right) for use as the primary hue of the Czech T-55A |
 |
| Comparing the sprue's original khaki green hues to the spray painted fuel drums' TS-28 Olive Drab 2 |
 |
| Certain parts of the tank were painted in Tamiya XF-51 Khaki Drab for some colour variety |
Nonetheless I do plan to incorporate
Tamiya Khaki Drab into the overall colour scheme in some form or other. At the very least this should provide colour variation into what otherwise would be a monotone hull. Anyway, in a short time I had used up nearly one whole 100 ml can of
TS-28 paint. These Tamiya spray paints are expensive hence not very cost effective if one can lasts for only one 1/35 scale tank. Going forward I will have to consider getting an airbrush system. That would burn a big hole in the hobby budget but in the long run I could save much more money.
 |
| Canvas covering gun mantlet offers opportunity to further diversify the overall colour scheme |
 |
| Details and texture remain good even after a layer of Tamiya TS-28 Olive Drab 2 lacquer paint |
 |
| Tamiya T-55A hull, basecoated and awaiting further paints and weathering |
Apart from the monotone olive drab covering the hull and turret, other more appropriate basecoat colours were used on the rubber portions of the road wheels, the tracks, the tow cables, the unditching log and of course the commander figurine (
see below). Getting clean lines for the road wheels took a lot of work and the entire process will be expanded upon in a later post.
 |
| Road wheels took the most time to basecoat and will get their very own how-to post next week |
 |
| Tracks and tow steel cables were basecoated with AK Interactive Track Primer |
 |
| And most colourfully basecoated were the commander figurine and unditching log/beam |
Meanwhile, a momentary loss of concentration resulted in too much paint being sprayed onto the mesh aka grilles. This clogged up a fair amount of the holes in the mesh. Thankfully it was nothing too complicated that a simple toothpick and a repaint couldn't fix. At the time I didn't have any
Tamiya XF-58 Olive Drab (a paint bottle equivalent of the
TS-28) at hand for the repaint. Instead I used the
Vallejo Model Color 70.894 Camouflage Olive Green which is a fairly close approximation of the
TS-28 hue. This time care was taken not to re-clog the holes during the repainting by brush.
 |
| A momentary lapse in concentration saw the spray nozzle being depressed too long thus clogging up the mesh |
 |
| To fix the clogged-up mess I used a sharpened toothpick to poke out some holes again in the mesh |
 |
| Closest colour match I had to repaint the mesh was the Vallejo Model Color 70.894 Cam. Olive Green |
Both the primer and basecoat are the boring parts of the whole AFV process. The fun begins when painting and weathering starts to bring the scale model to life. Work on this has begun even as I do an initial dry-fitting of the painted parts of the
Bandai Star Wars Snowspeeder. More soon on both the T-55A (next week) and Snowspeeder (later this week). As I busy myself with hobby stuff, I leave you with this humorous quote from a late US columnist ...
"Have you noticed that even the busiest people are never too busy to take time to tell you how busy they are?" Sound familiar?


.jpg)

I love your tuts. Thank You very much :)
ReplyDeleteTutorials? Thanks although this isn't technically a tutorial, it's more a WIP post :)
DeleteGreat work ! Love the green !
ReplyDeleteGreetings
Thanks Mario ... I like the green too!
DeleteI'm mesmerised by your dedication and attention to detail. I love seeing you being busy!! :D
ReplyDeleteHa ha ha ... XD ... being busy feels great though I can be too busy over the smallest unimportant detail :)
DeleteNice progress mate. I really like that nato green will have to pick some up for a project I have on the back burner.
ReplyDeleteThanks Simon! Me too ... I thought the Nato Green looked better than the Olive Drab - marginally so - but the sadly the actual references called more for an olive green.
Delete