Attachment of the outer panels give us an inkling of the familiar form that is the
RX-78-2 Gundam as it is arguably its most recognizable attribute apart from the head. That's done and dusted, and below are the work-in-progress photos leading up to the completion of the Torso Outer Panels.
 |
| Master Grade RX-78-2 Gundam Version 3.0 work-in-progress: Torso Outer Panels |
In addition to what came before, two new paint colors were used for this stage of painting. Both the
Nazca NC-004 Million Blue and
Side Red (a mix of white, grey and red) hues are meant to add color variety to the primary blues and reds respectively. While contrast is stark between the
Gundam Blue and violet-like
Million Blue, it is less so with the pinkish magenta-like
Side Red and
Gundam Red.
 |
| As per the Gundam norm, all parts were painted separately before being assembled |
 |
| Nazca Color NC-004 Million Blue is the paint proxy used for the violet outer panels |
 |
| A lighter, more pinkish red hue forms an alternate outer panel color to the pure reds |
Assembly of the outer panels was pretty straightforward without any complications apart from the infuriating decal stickers which I will expound yet again,
ad nauseam, later on in this post.
 |
| Pieces of the painted outer panels prior to being attached to the inner frame |
 |
| Sub-assemblies of the torso: (from top to bottom) the upper, mid- and lower sections |
 |
| Torso outer panels with sticker decals, all fully attached to the inner frame |
Various angled views of the torso with its outer panels attached to the inner frame are shown below.
 |
| Torso inner frame with outer panels attached; view from the bottom-up |
 |
| Torso inner frame with outer panels attached; the top-down view |
Again having to use decal stickers was less than ideal. While I'm getting better at using them, more often than not I tend to get really bad results. A particularly bad pair of decal stickers can be found on both sides of the lower torso. I compounded the issue by positioning the sticker at the torso's lower right (
on the lower left in the photo showing the front view of the torso;
second photo from bottom) wrongly. Placing decal stickers on uneven surfaces like grooves is a recipe for disaster as it makes the decal stick out like a sore thumb. Sadly sometimes this cannot be avoided but in this case it could.
 |
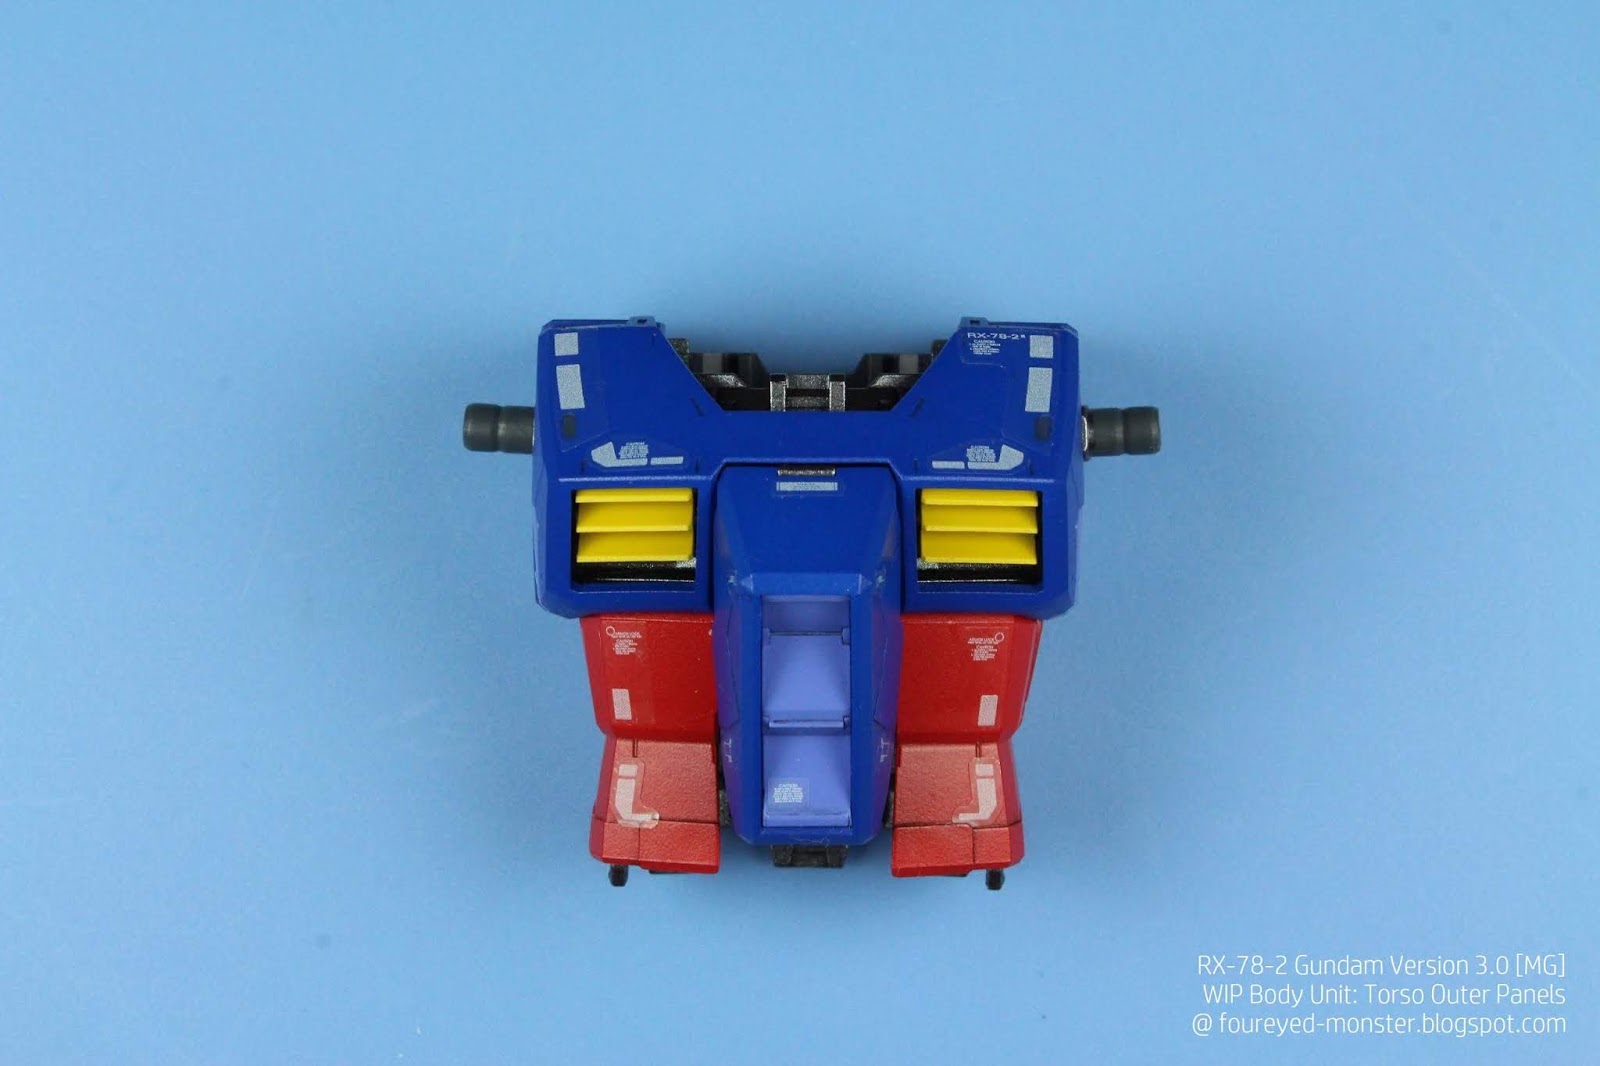
| Back view of the torso showing the H-shaped connector which will attach to the backpack (ransel) |
 |
| Side view (from right) of the torso; note parts of the inner frame showing through |
 |
| Front view of torso; two connectors jutting out from the left and right will attach to the shoulder/arms later |
 |
| Side view (from left) of the torso; note the panel lining on the grooves which add depth to the outer panels |
Next for the RX-78-2 Gundam is its Ransel or backpack. So stay tuned, and have a good one.


Looking beautiful!
ReplyDeleteThank you Michal.
DeleteIt looks fantastic ! Great work. I can't wait to see more !
ReplyDeleteGreetings
Thank you very much Mario.
DeleteSuch commitment, wonderful work.
ReplyDeleteMuch appreciated Michael.
DeleteI know I'm just repeating myself, but I love the way you approach every project and the love you put into it. Great.
ReplyDeleteThanks Suber. You know what they say ... if something is worth doing, do it (or at least try to do it) well :)
DeleteLooking rather impressive already!
ReplyDeleteThank you Moiterei.
DeleteLove it, the colours you used are giving the body this oldschool anime/cartoon vibe that I really like.
ReplyDeleteTruly impressive!
Many thanks Wouter. The blues are too dark for the anime color scheme so my bad there but it still looks okay I guess :)
ReplyDelete