As a young kid in kindergarten trying to replicate the Star Wars universe as seen on the big screen onto the drawing pad, I quickly developed a deep appreciation for the Galactic Empire's
Twin Ion Engine Starfighter i.e. the
Tie Fighter. Not only was it relatively easy to draw, it also had
the coolest engine roar imaginable to a five-year-old way back then. It was my favourite Star Wars vehicle up until
Empire Strikes Back came out and with it the
All Terrain Armoured Transport (
AT-AT) walker. But the Tie Fighter remains my favourite space faring vehicle in the Star Wars franchise so far.
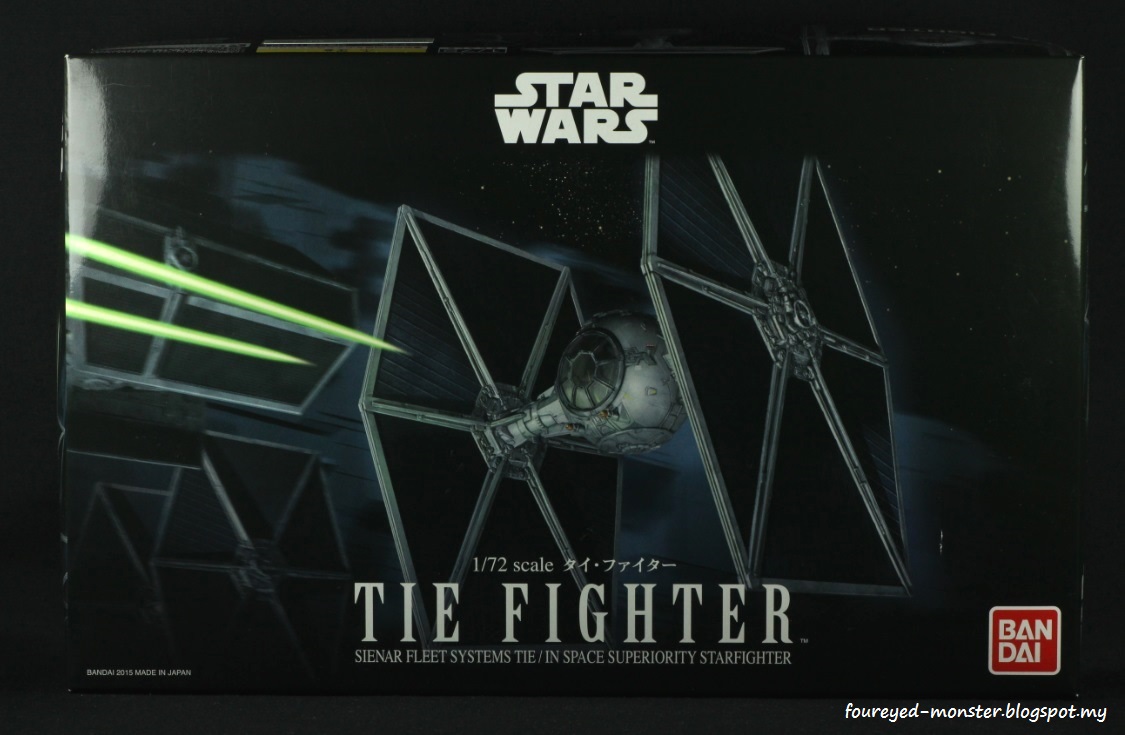
 |
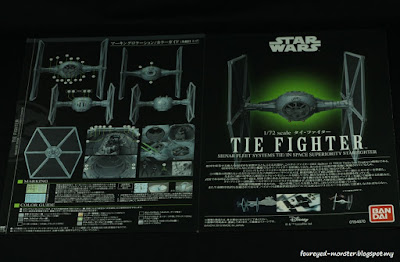
| Bandai Star Wars Tie Fighter 1/72 Scale Model Plastic Kit, front view of box art |
 |
| Side views of the Bandai Tie Fighter box art |
Instructions came in the usual Japanese language only booklet. However they look straightforward with easy to follow diagrammatic step-by-steps. The Japanese phrases/sentences are short enough that
Google Translate should be able to work its magic without losing too much in translation.
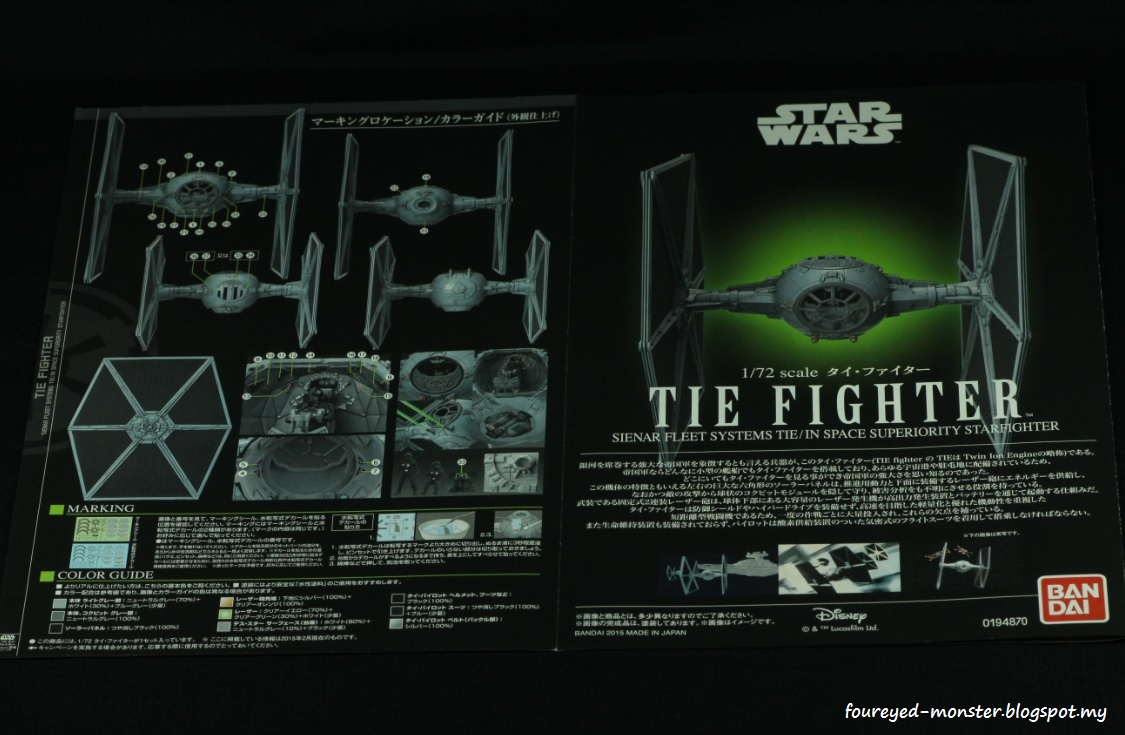
 |
| Front and back cover of the Bandai Tie Fighter instructions |
 |
| Simple diagrammatic instructions with the occasional Japanese phrase/sentence |
The Tie Fighter seems to be one of the simpler vehicle model kits in Bandai Star Wars line. One thing is for sure, it's going to take a lot less time to put one together and paint it up compared to the Millennium Falcon. My gut feeling tells me this build will be more about bringing out the small details (either through decals or paint) as the colour scheme of the piece is rather monotone and dull. Both the cockpit interior and main central hull of the Tie Fighter have great details (
Sprue A2 and B).
 |
| Sprue A2: Cockpit, top access hatch, viewport, laser cannons, fuel tank cap and miscellaneous stuff |
 |
| Sprue B: Central hull, laser power system, and wing parts |
On sprues E1 and E2, the solar array panels have been separated from the wing braces.This is great mainly because it does away with the need to mask off the panels before priming/spray painting the braces. Similar to the rest of the Tie Fighter, the details on the wing braces is equally excellent.
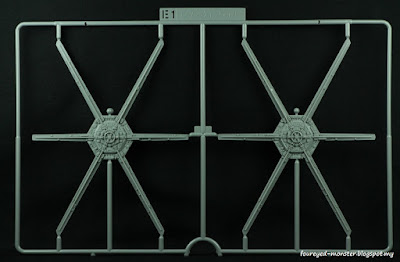 |
| Sprue E1: Outer wing braces for the Tie Fighter |
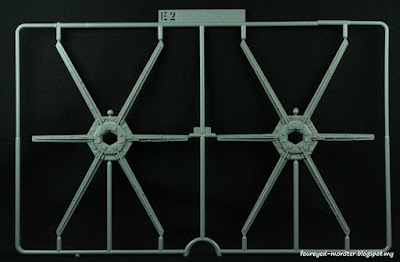 |
| Sprue E2: Inner wing braces for the Tie Fighter |
 |
| Sprue F: Solar array panels and pilot options i.e. one standing and the other seated |
There is an alternative option in which the top access hatch and front viewport comes in clear plastic (
Sprue G). With proper masking/painting, the final completed pieces will have a more authentic look than say the same pieces that come with just empty holes (
see Sprue A2). That being said, I will likely use the latter for a better view into the cockpit interior
(as was the case for the Millennium Falcon).
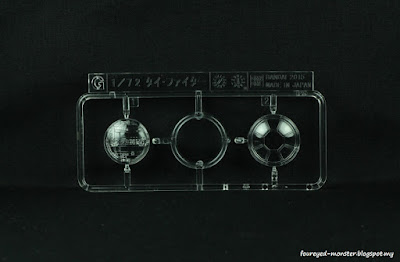 |
| Sprue G: Clear plastic options for the Tie Fighter's top access hatch and front viewport |
 |
| Sprue SWE1: Energy discharge from laser cannons (left); Sprue SWB4: Death Star base (right) |
Meanwhile, the base is meant to be part of the Death Star's surface. It
looks the part too which is cool. And in a nice touch that's replicated
in many of Bandai's other Star Wars model kits - there is a pair of
green plastic pieces simulating the laser canon shots/energy discharge. Also included are extremely detailed markings for the Tie Fighter and its pilot, in sticker as well as water decal form. Use of these should enhance the overall look of the model kit, especially in combination with paints.
 |
| Bandai Tie Fighter markings in sticker (left) and water decal (right) form |
This is one Star Wars vehicle that warrants more than one version. Actually, I do have plans for two i.e. light grey and blue grey colour schemes from
A New Hope and
Empire Strikes Back respectively. On top of that, I would love to eventually do a Trench Run Diorama. But first things first. For now, I plan to work on the blue grey version before adding a light grey one to my collection. Personally I like both colour schemes so I'm looking forward to how they'll turn out. Can't wait to get started.


.jpg)

I have pretty much all of these kits...and they also just came out with the first order and resistance ones as well. Excited to see you build this one up, as I have yet to even open mine! (i just had to have them)
ReplyDeleteHa ha ... I know what you mean. There are no two ways around it. Bandai's kits are pure addiction. Kudos to the Bandai engineers for creating a model kit that causes your brain to release so much dopamine XD
DeleteYou do have some splendid toys, really looking forward to seeing you put this one together.
ReplyDeleteI was really lucky to find a shop that was selling these kits at a reasonable price unlike the regular Departmental or ToyRUs shops which were selling them at double normal retail. Sigh ... a lot of retailers in M'sia takes consumer for fools. But then again, various taxes and crazy rental rates is killing the honest ones too.
DeleteAnother project of yours which I will savour watching unfold. :)
ReplyDeleteTIE Fighters are so cool. Let's hope after I'm done with it, it doesn't become uncool. LoL :)
DeleteLooking forward to it!
ReplyDeleteGreat choice, waiting for more!
ReplyDeleteThank you Luca!
DeleteYou'll probably want to pick up Vader's Tie Advance to complement the set. The build is almost the same except for the wings which were already "assembled" in the box.
ReplyDeleteThanks for the heads up. :) And I agree completely, the TIE Advance is a must have although the 'assembled wings' are indeed a real bummer.
DeleteAwesome project, waiting for next step!
ReplyDeleteThank you Phil, I hope I won't disappoint!
Delete